


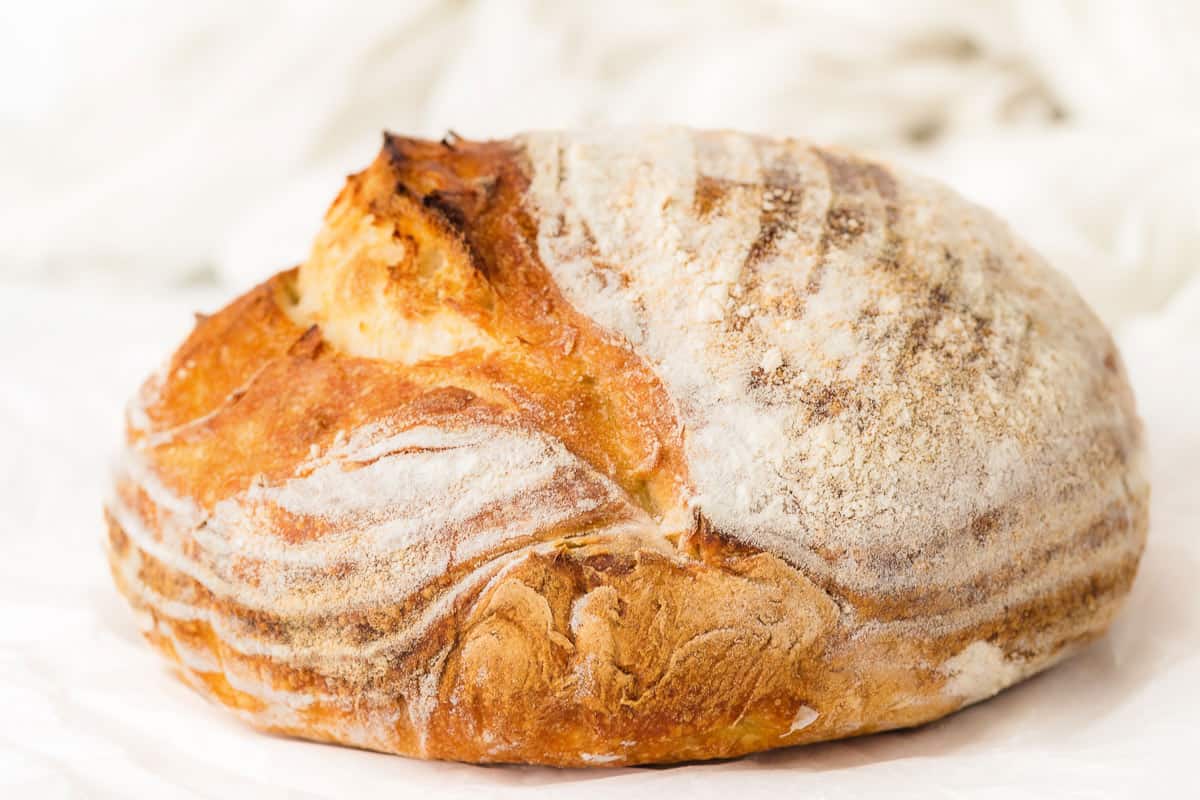
Making your first sourdough bread is easier than it looks. This beginner-friendly recipe uses just four simple ingredients to create a crusty artisan sourdough loaf with a soft, chewy center.
I've baked this loaf more times than I can count, and it's still one of my favorite weekend baking projects. Once you bake your first successful loaf, there's a good chance you'll want to make another.
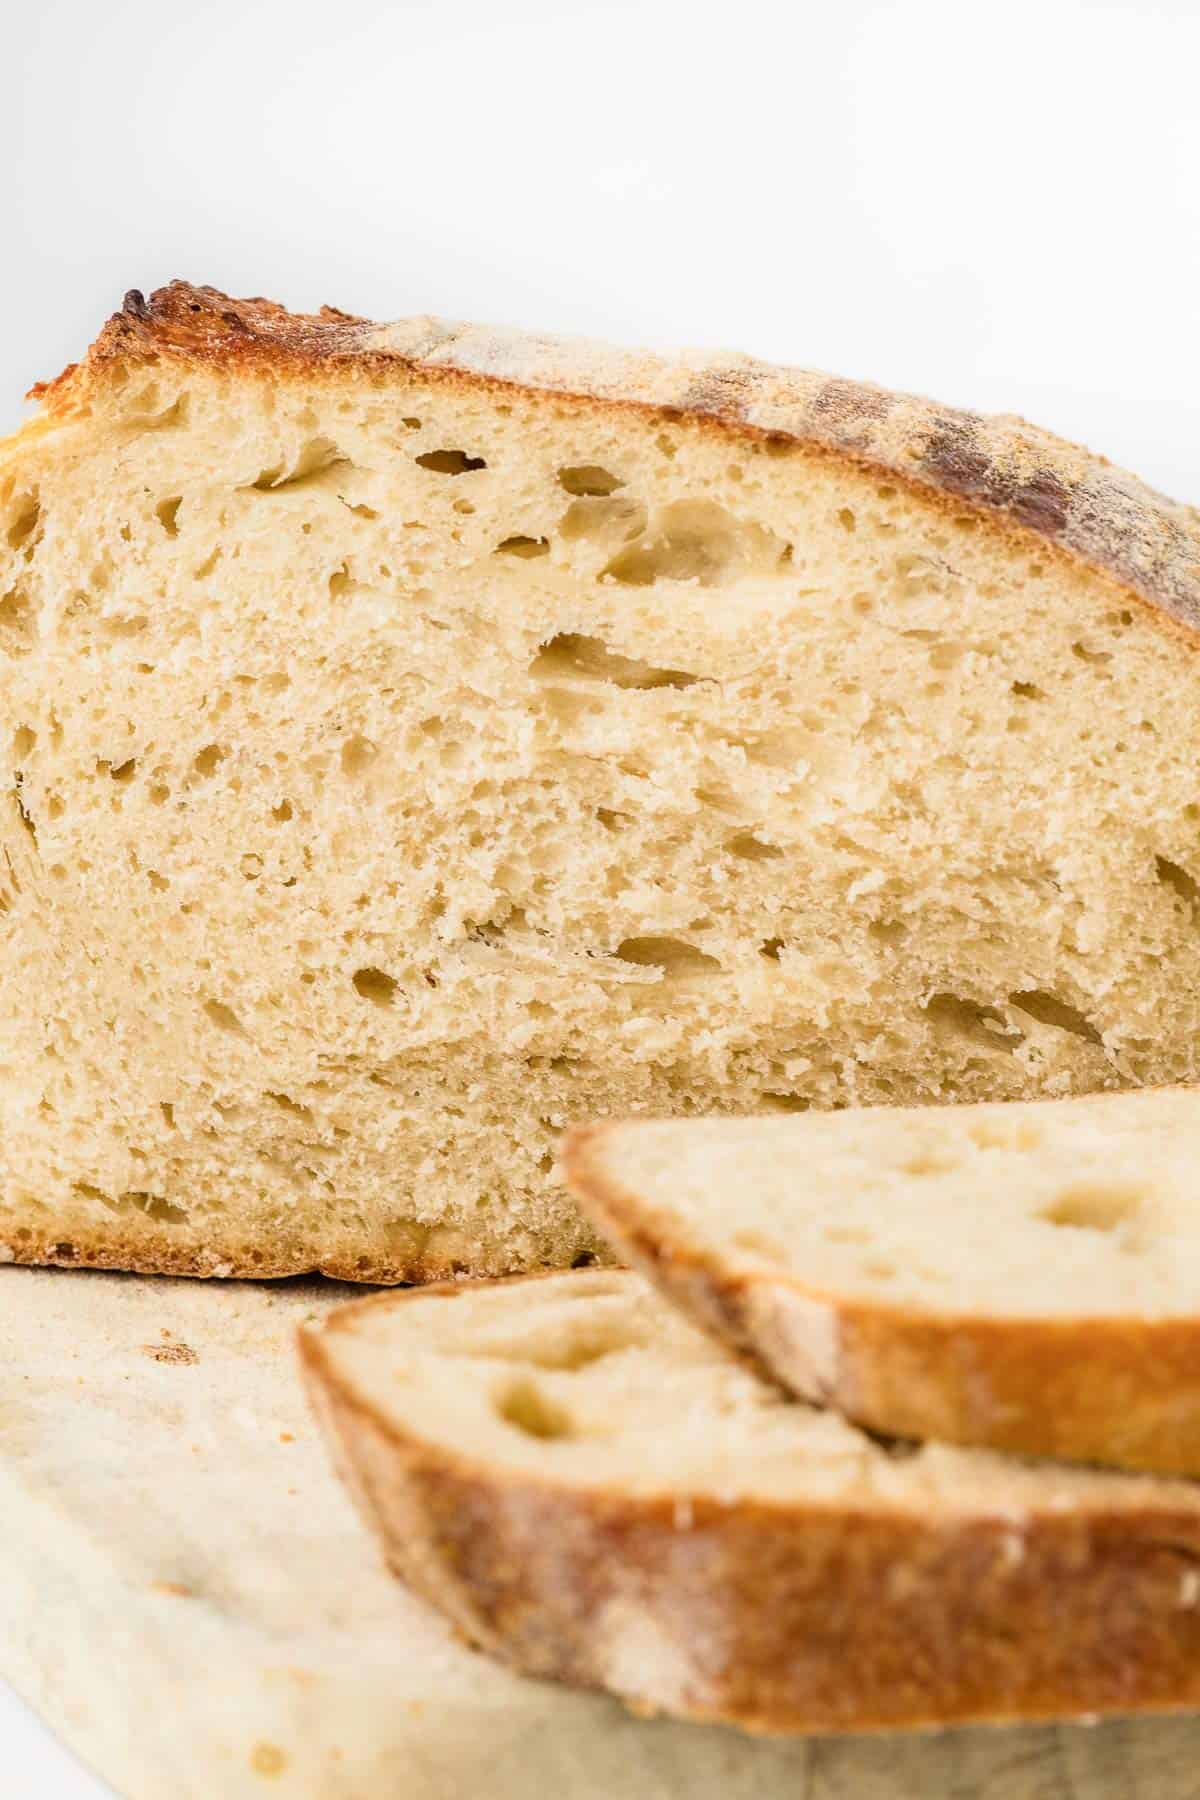
Why This Is On Repeat At My House
This is the sourdough recipe I come back to whenever my starter is active. I've made it enough times that the process feels simple instead of intimidating, and that's exactly why I keep using this recipe.
I usually bake a loaf every week or two. My family loves it warm with butter, and I almost always save a few slices for toast and sandwiches the next day.


One thing I learned is not to rush the rise. Waiting until the dough looks light and airy makes all the difference, and the extra patience is always worth it.
🛒 Ingredients
- Bread Flour - It gives the loaf its chewy texture and helps create a nice rise. I've tried all-purpose flour, and while it works, I strongly prefer bread flour because the loaf holds its shape much better.
- Water - Room-temperature water works best. If your kitchen is chilly, slightly warm water can help the fermentation get started.
- Active Sourdough Starter - Your starter should be bubbly, doubled in size, and ready to use. I've found that baking with an active starter makes the whole process much more predictable.
- Fine Sea Salt - Salt brings out the flavor and strengthens the dough. I never skip it or reduce the amount because the bread tastes noticeably flatter without it.
👩🍳 You'll find the complete list of ingredients below the recipe card.
How To Make a Sourdough Starter
A sourdough starter is essential for making this bread. It's simply a mixture of flour and water that's fed daily until it's active enough to naturally leaven bread. Most starters are ready in 7 to 10 days.
Day 1
- Mix 60 g all-purpose flour and 60 g water in a clean jar.
- Stir until smooth, cover loosely, and let it sit at room temperature for 24 hours.
Days 2-6
- Discard about half of the starter.
- Feed it with 60 g flour and 60 g water once a day.
- Cover loosely and keep it at room temperature.
I've found that some days you'll see lots of bubbles, while other days it seems quiet. That's completely normal.
Days 7-10
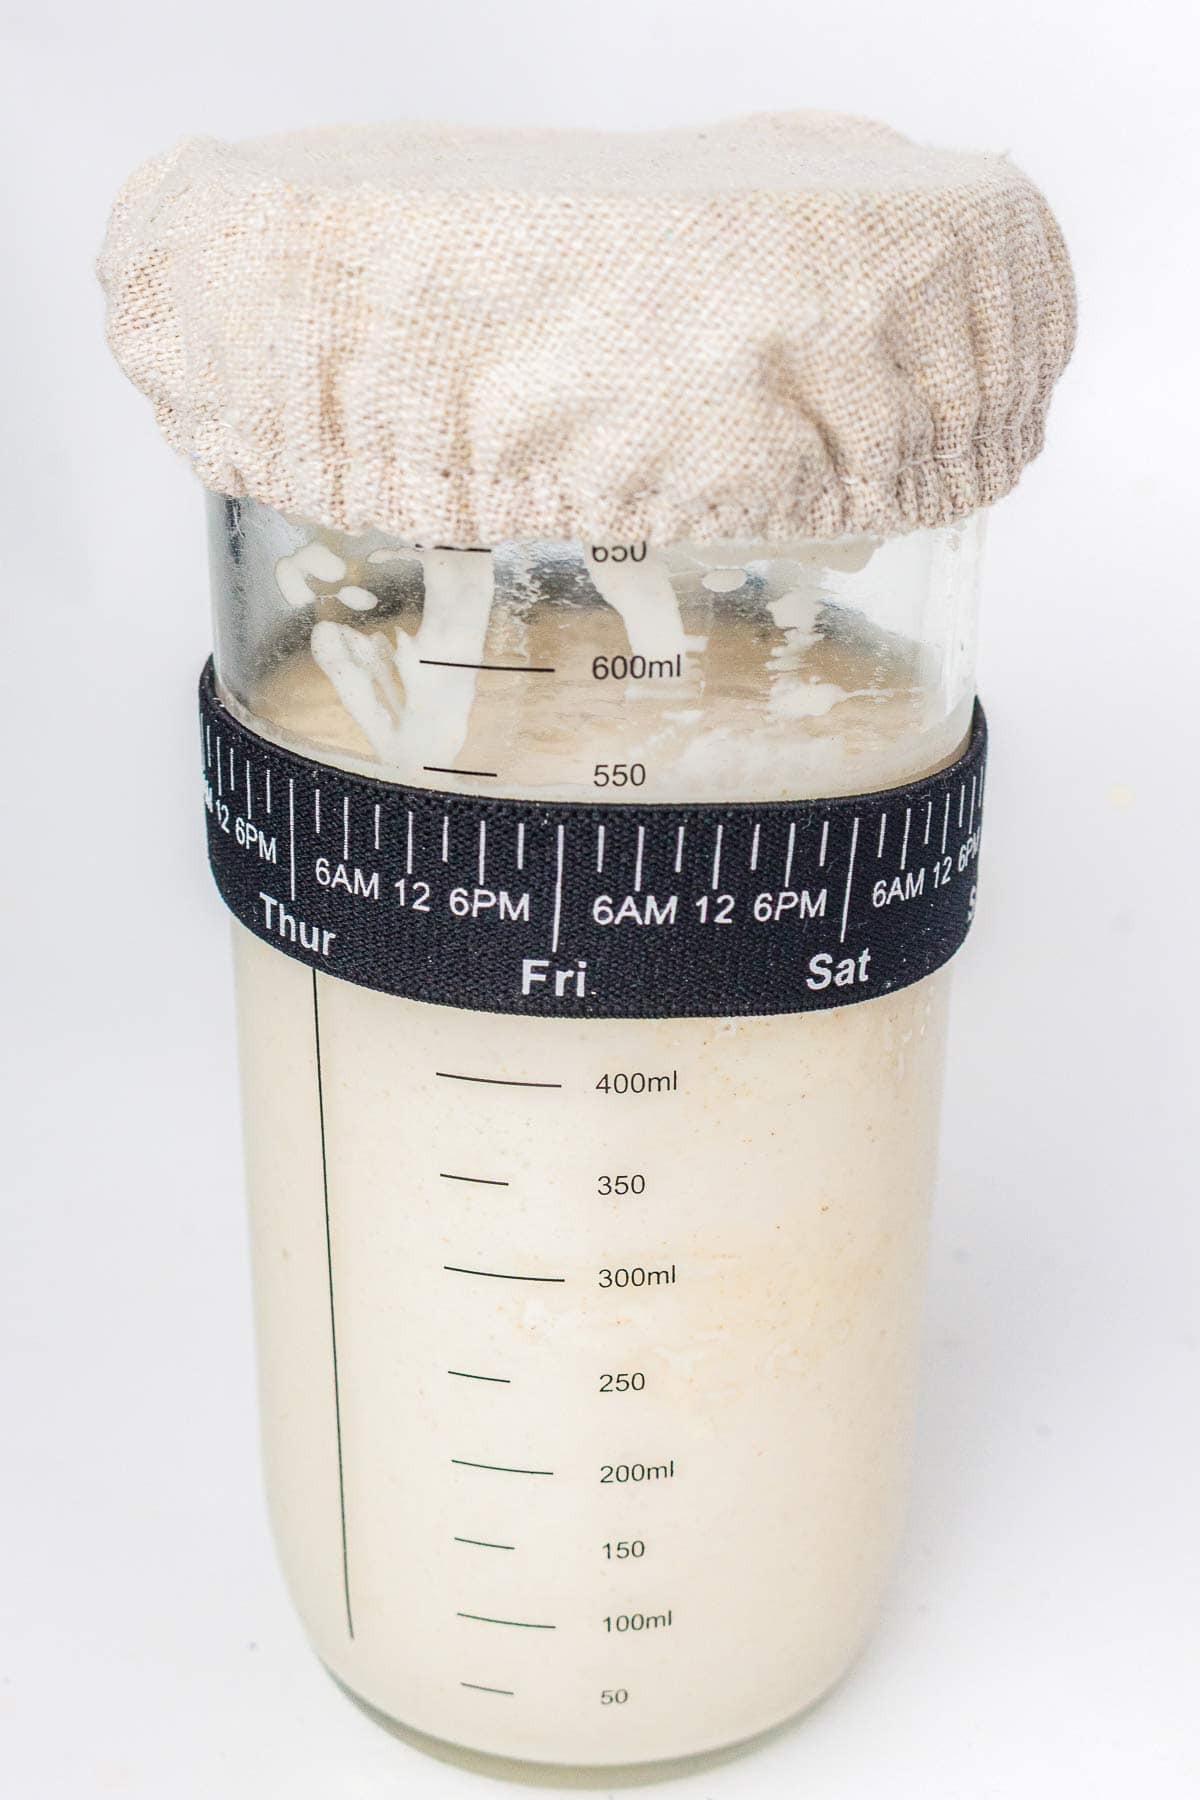
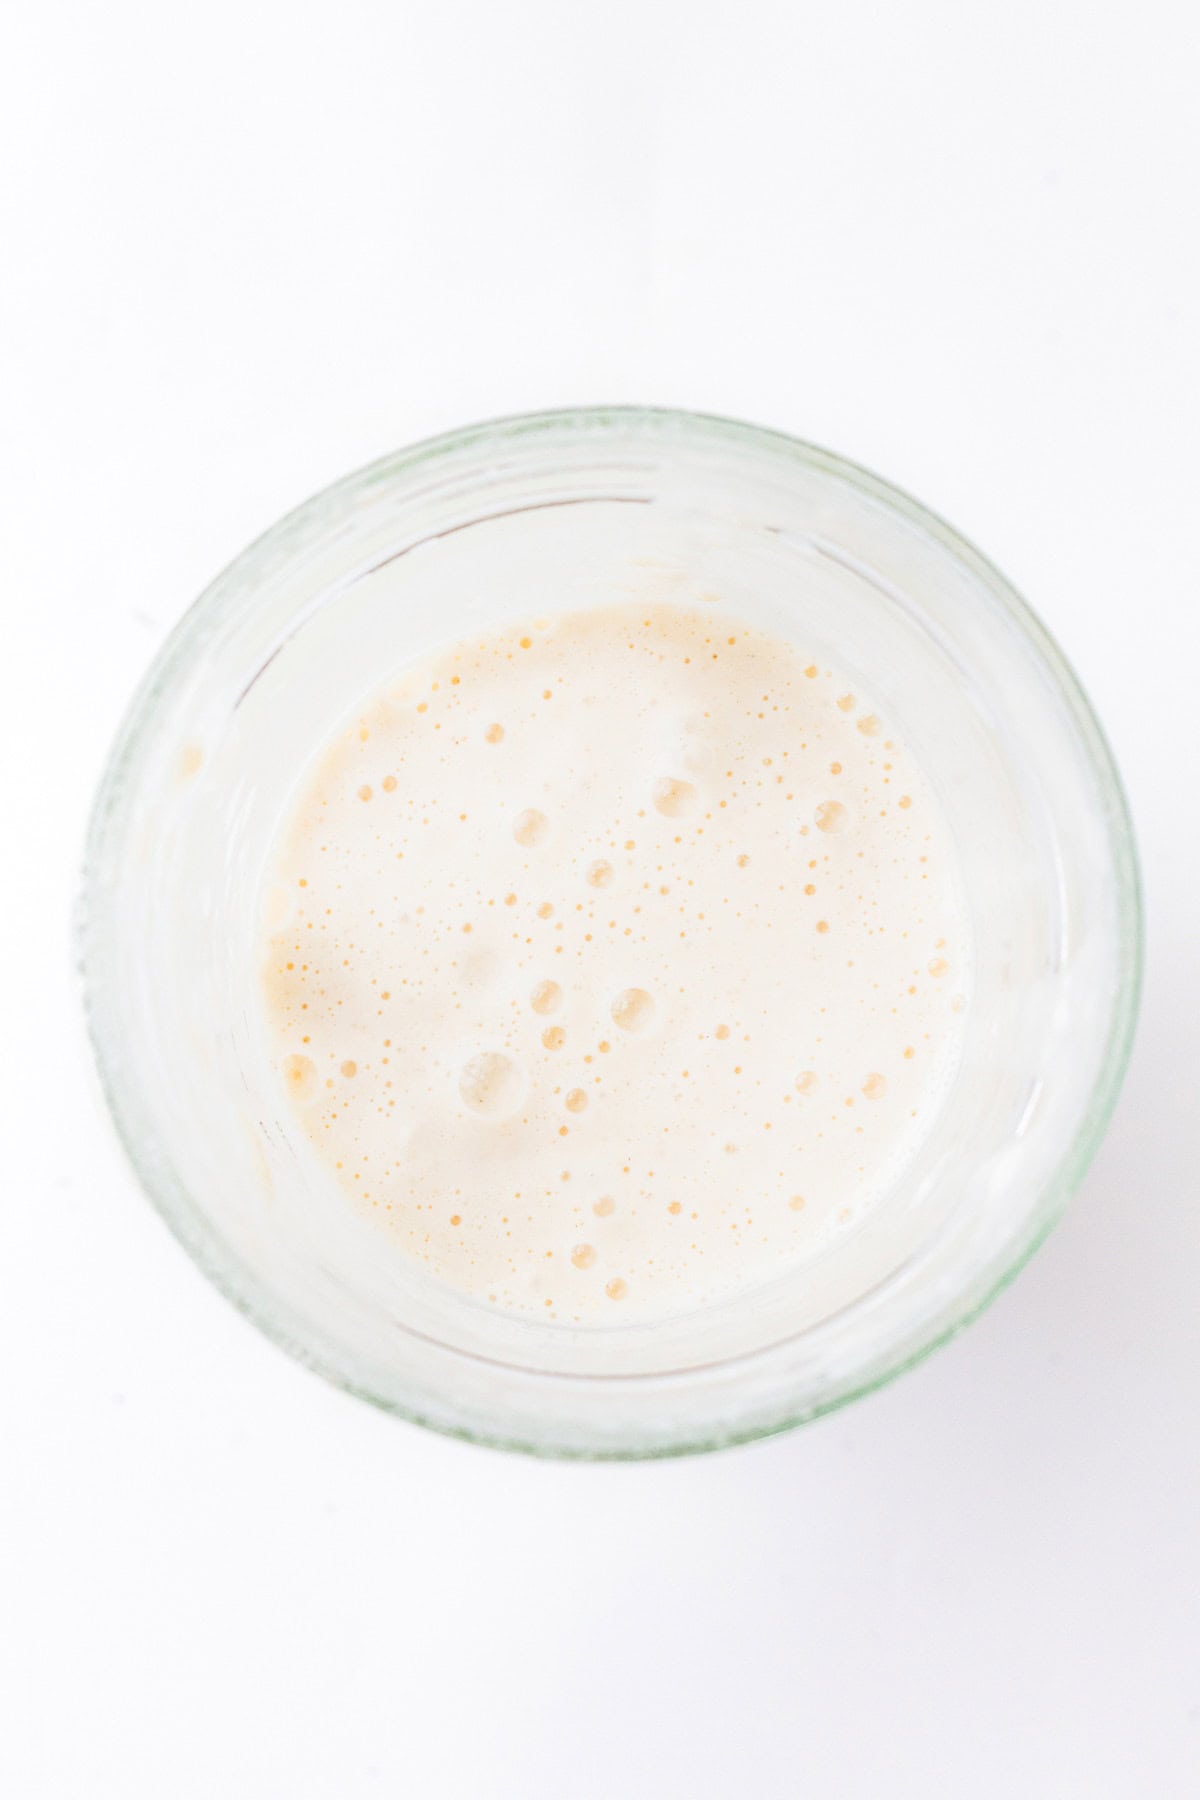
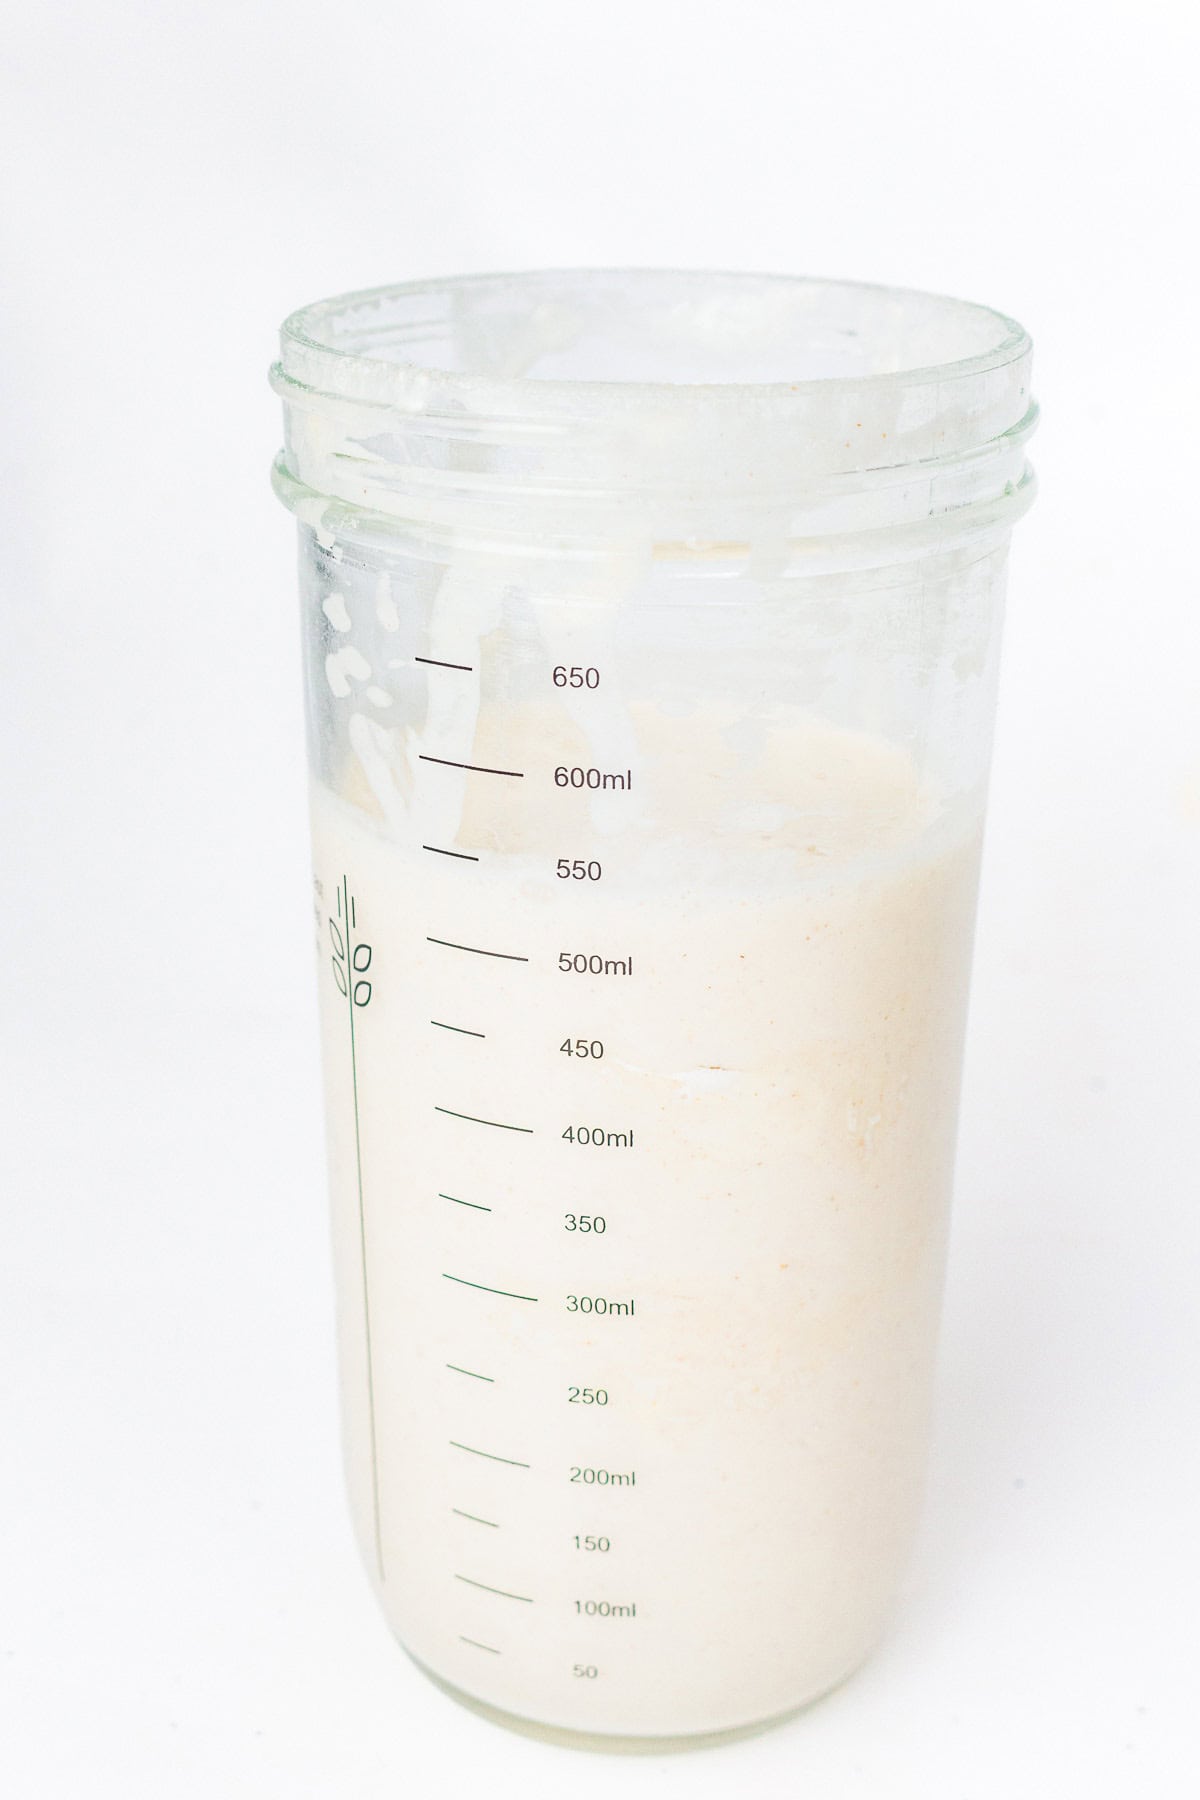
Your starter is ready when it:
- Doubles in size after feeding
- Looks bubbly and airy
- Smells pleasantly tangy.
I usually bake when my starter has just reached its highest point after feeding since that's when it's strongest.

Why Does Sourdough Take So Long?
If you're used to baking with instant yeast, sourdough can feel slow at first. That's because it relies on a natural starter instead of commercial yeast, so the dough needs more time to rise and develop its flavor and texture.
I've learned that most of the process is actually hands-off. Once the dough is mixed, the waiting does most of the work, making sourdough feel much less intimidating than it first appear
🥣 How To Make Sourdough Bread Step By Step
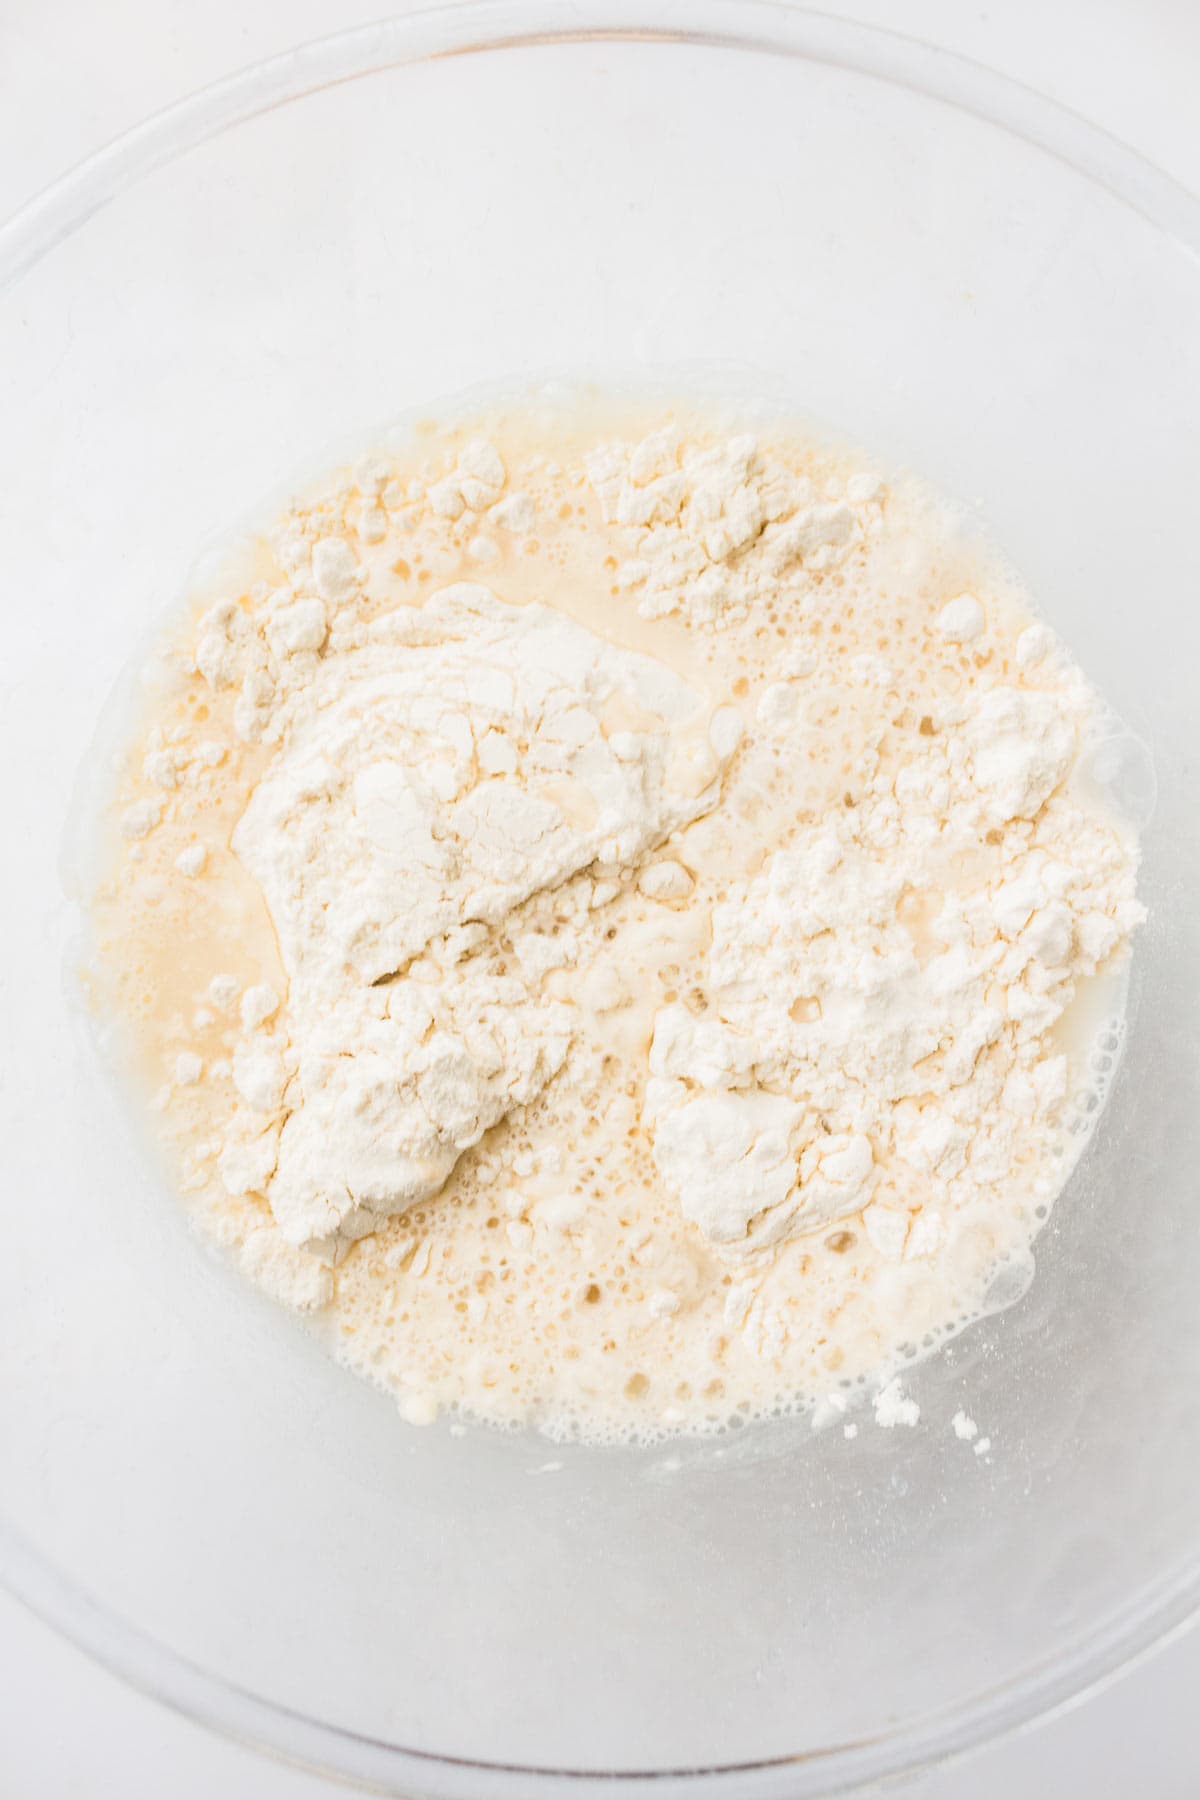
- Mix the Dough: Combine the bread flour and water in a large bowl until a shaggy dough forms. Cover and let it rest for 30 minutes.
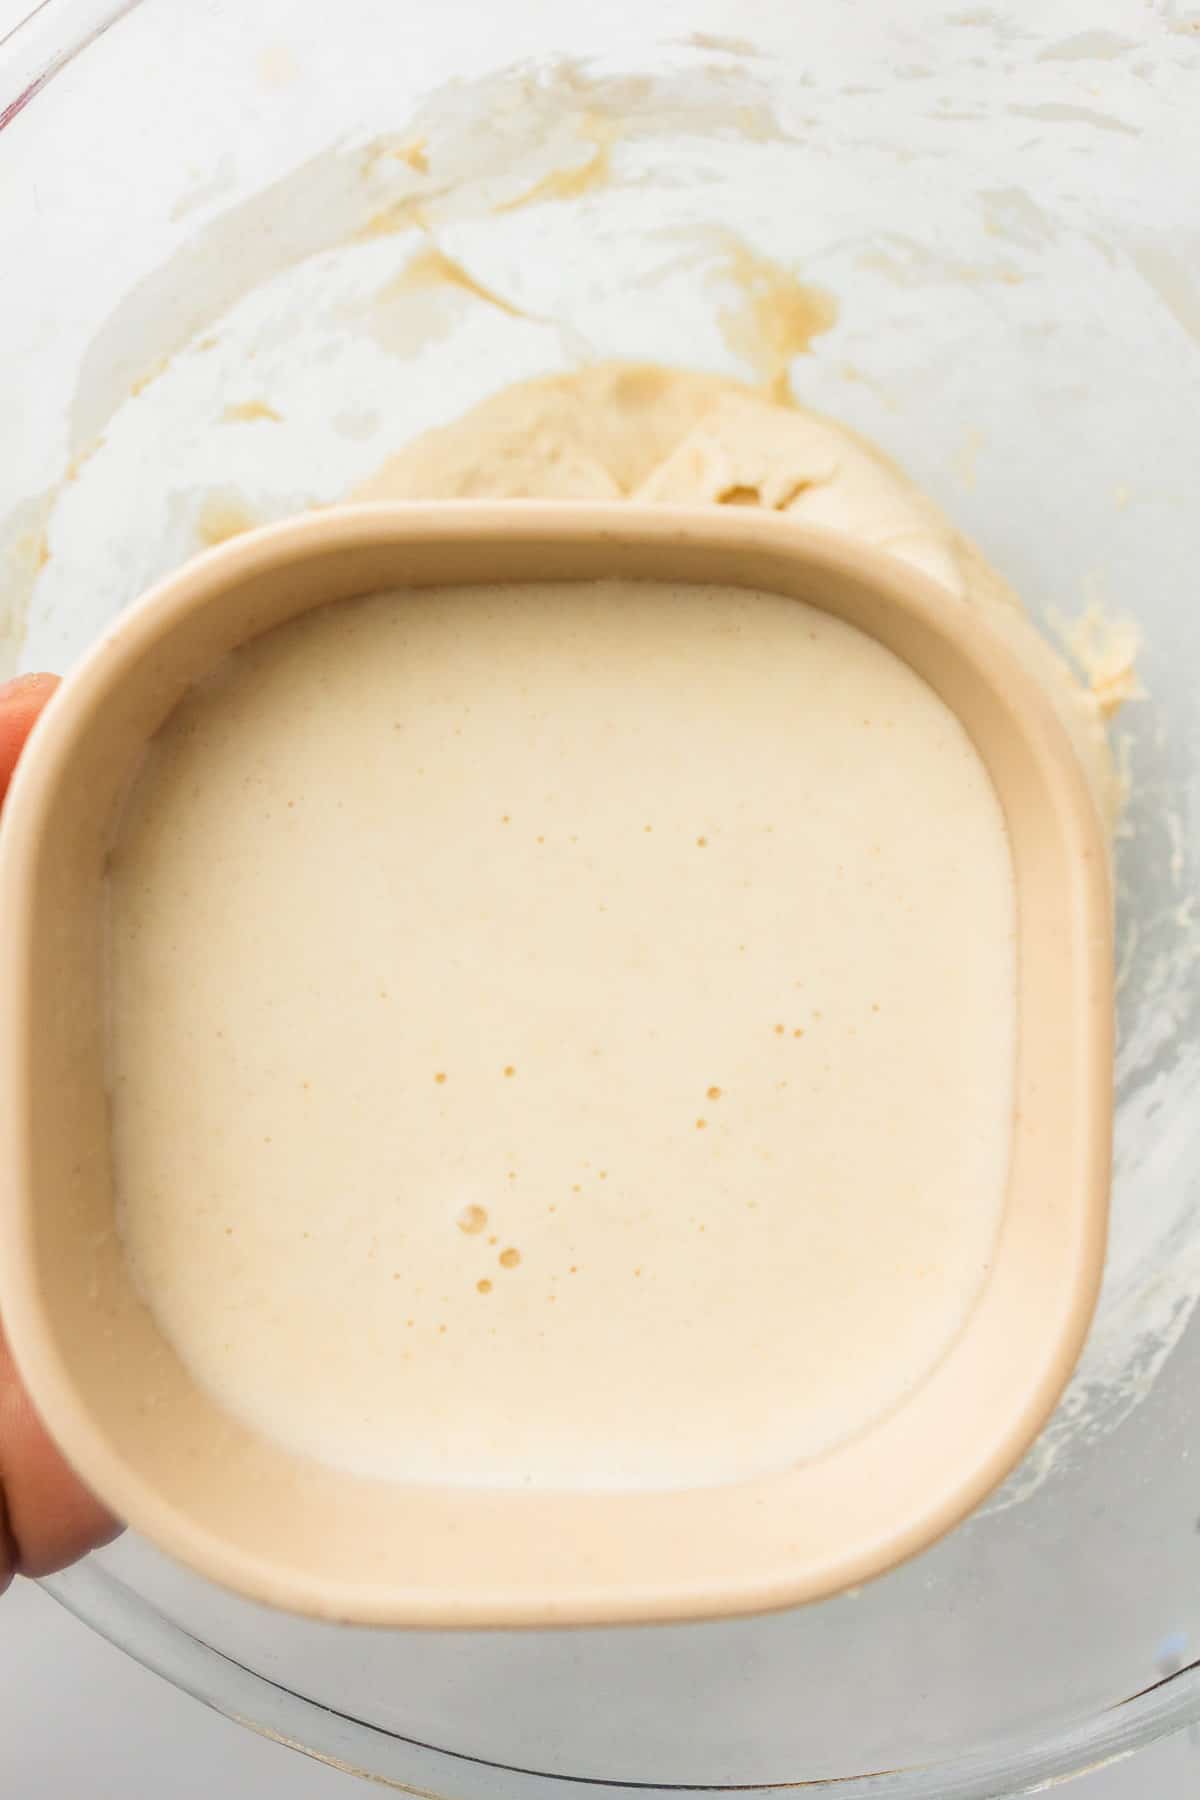
- Add the Starter: Mix in the active sourdough starter and salt until fully combined. Don't worry if the dough feels rough at first.
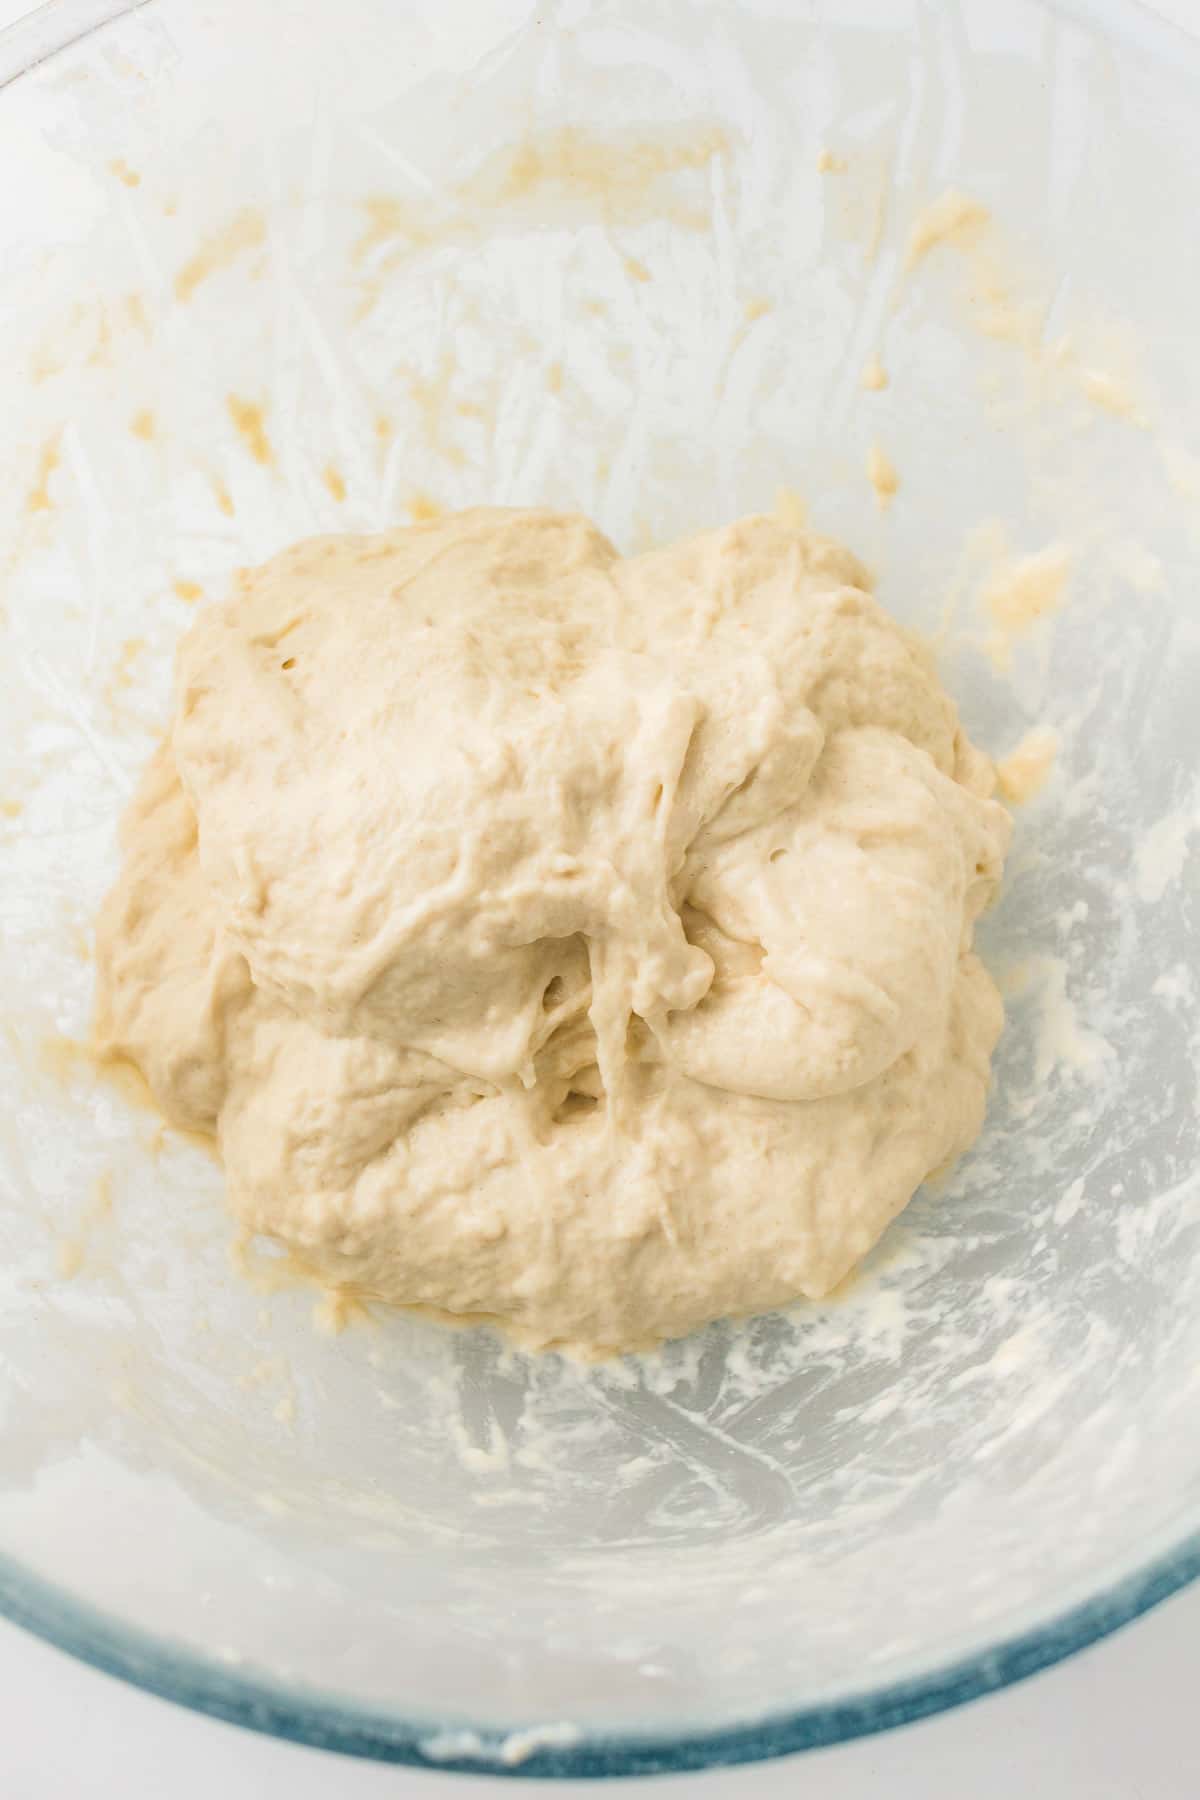
- Stretch and Fold: Stretch one side of the dough upward and fold it over the center. Repeat on all four sides.
- Repeat the Folds: Repeat the stretch-and-fold process every 30 minutes for the next 2 hours. I've found the dough gets smoother after each round.
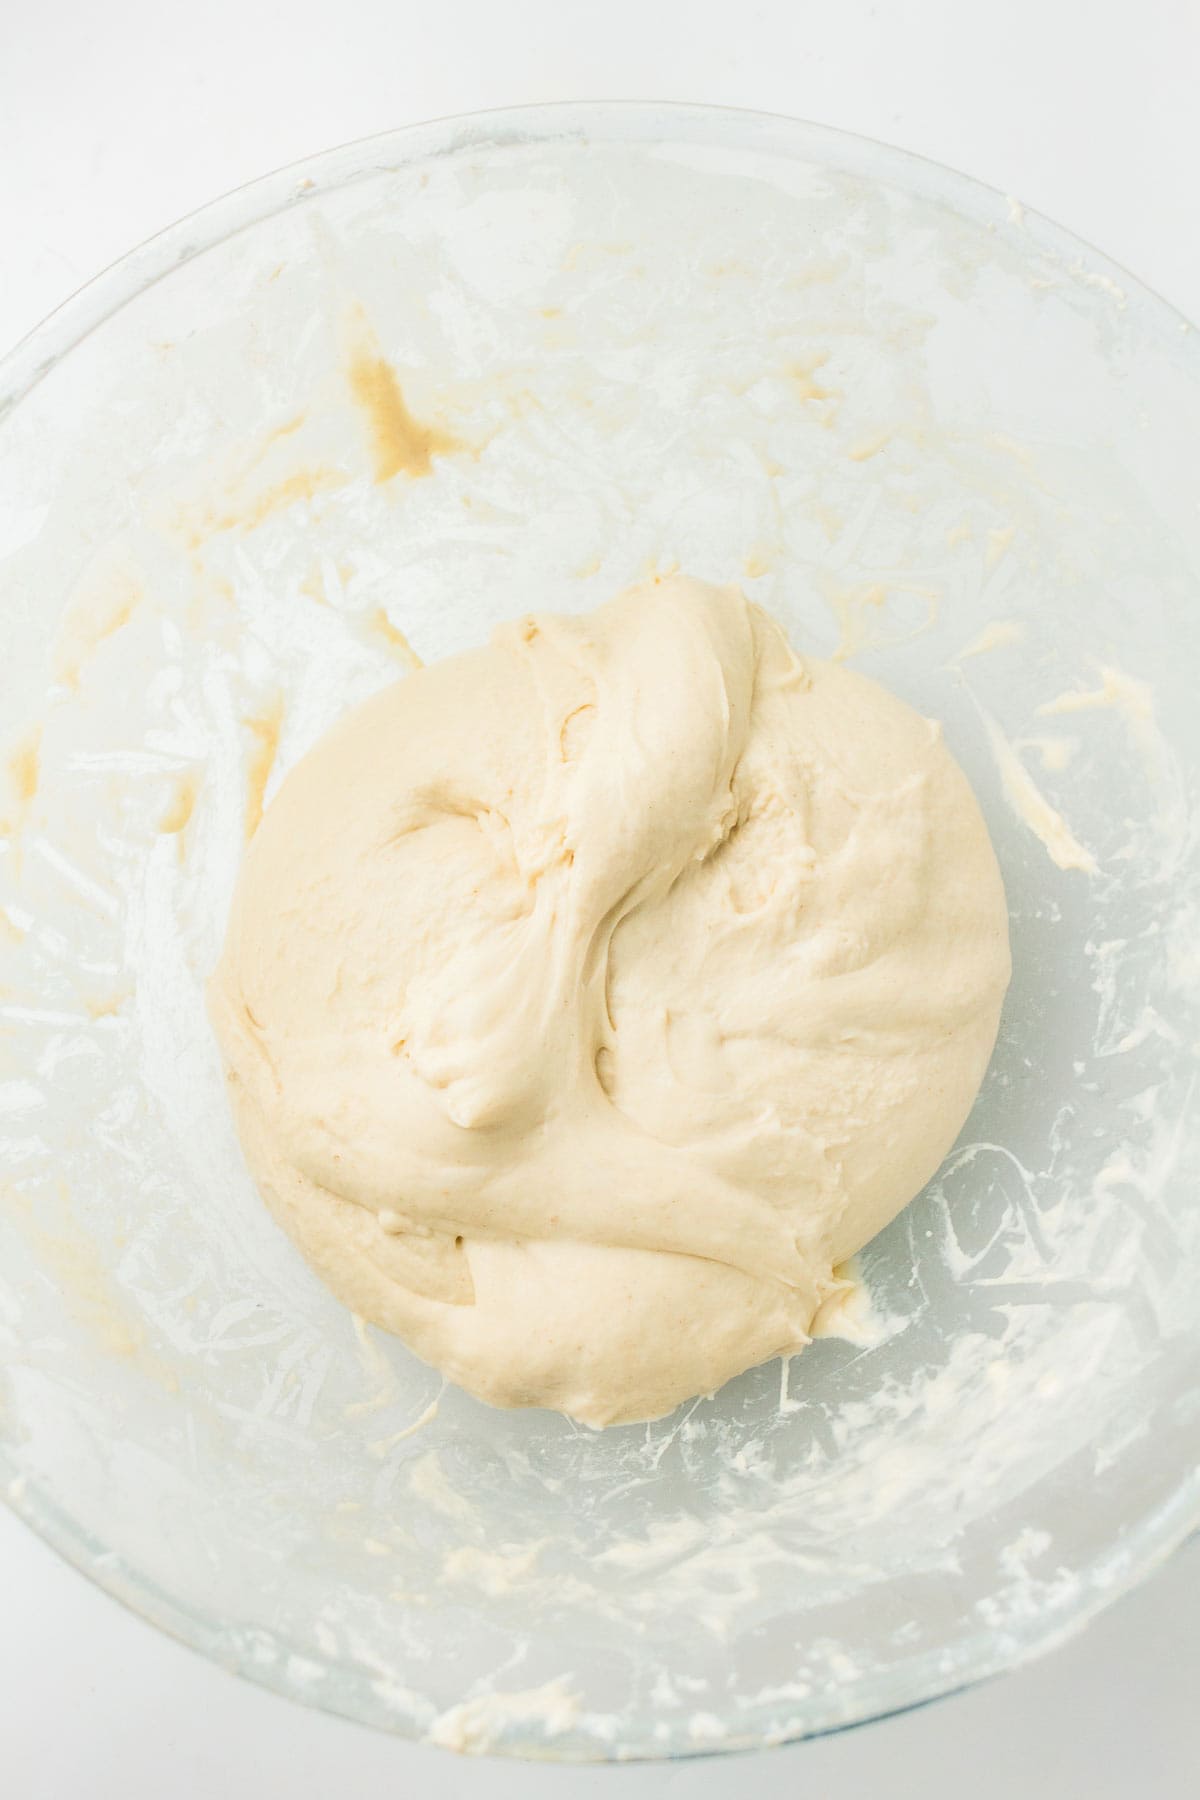
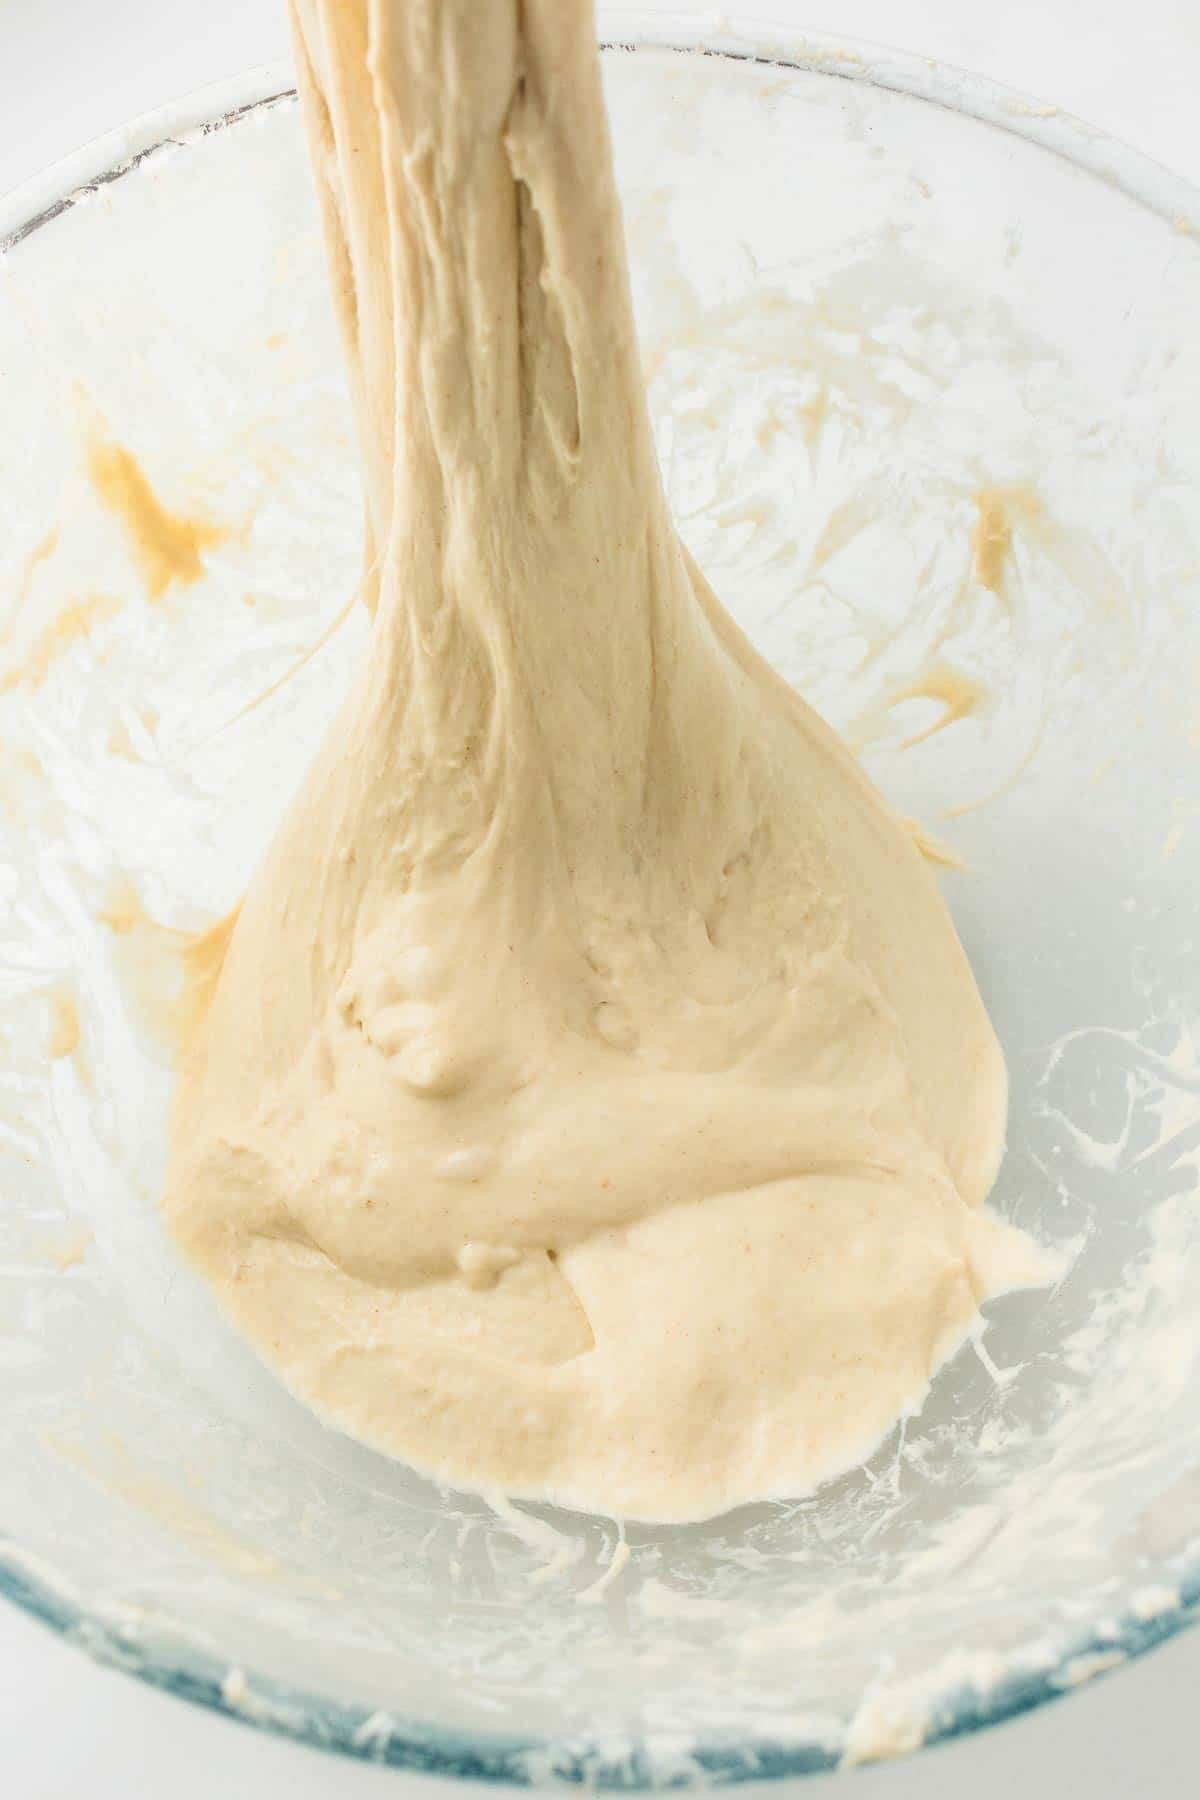
- Bulk Ferment: Cover and let the dough rise for 6 to 8 hours, or until it looks puffy and airy.
- Shape the Loaf: Turn the dough onto a lightly floured surface and gently shape it into a round. Try not to press out too much air while shaping.
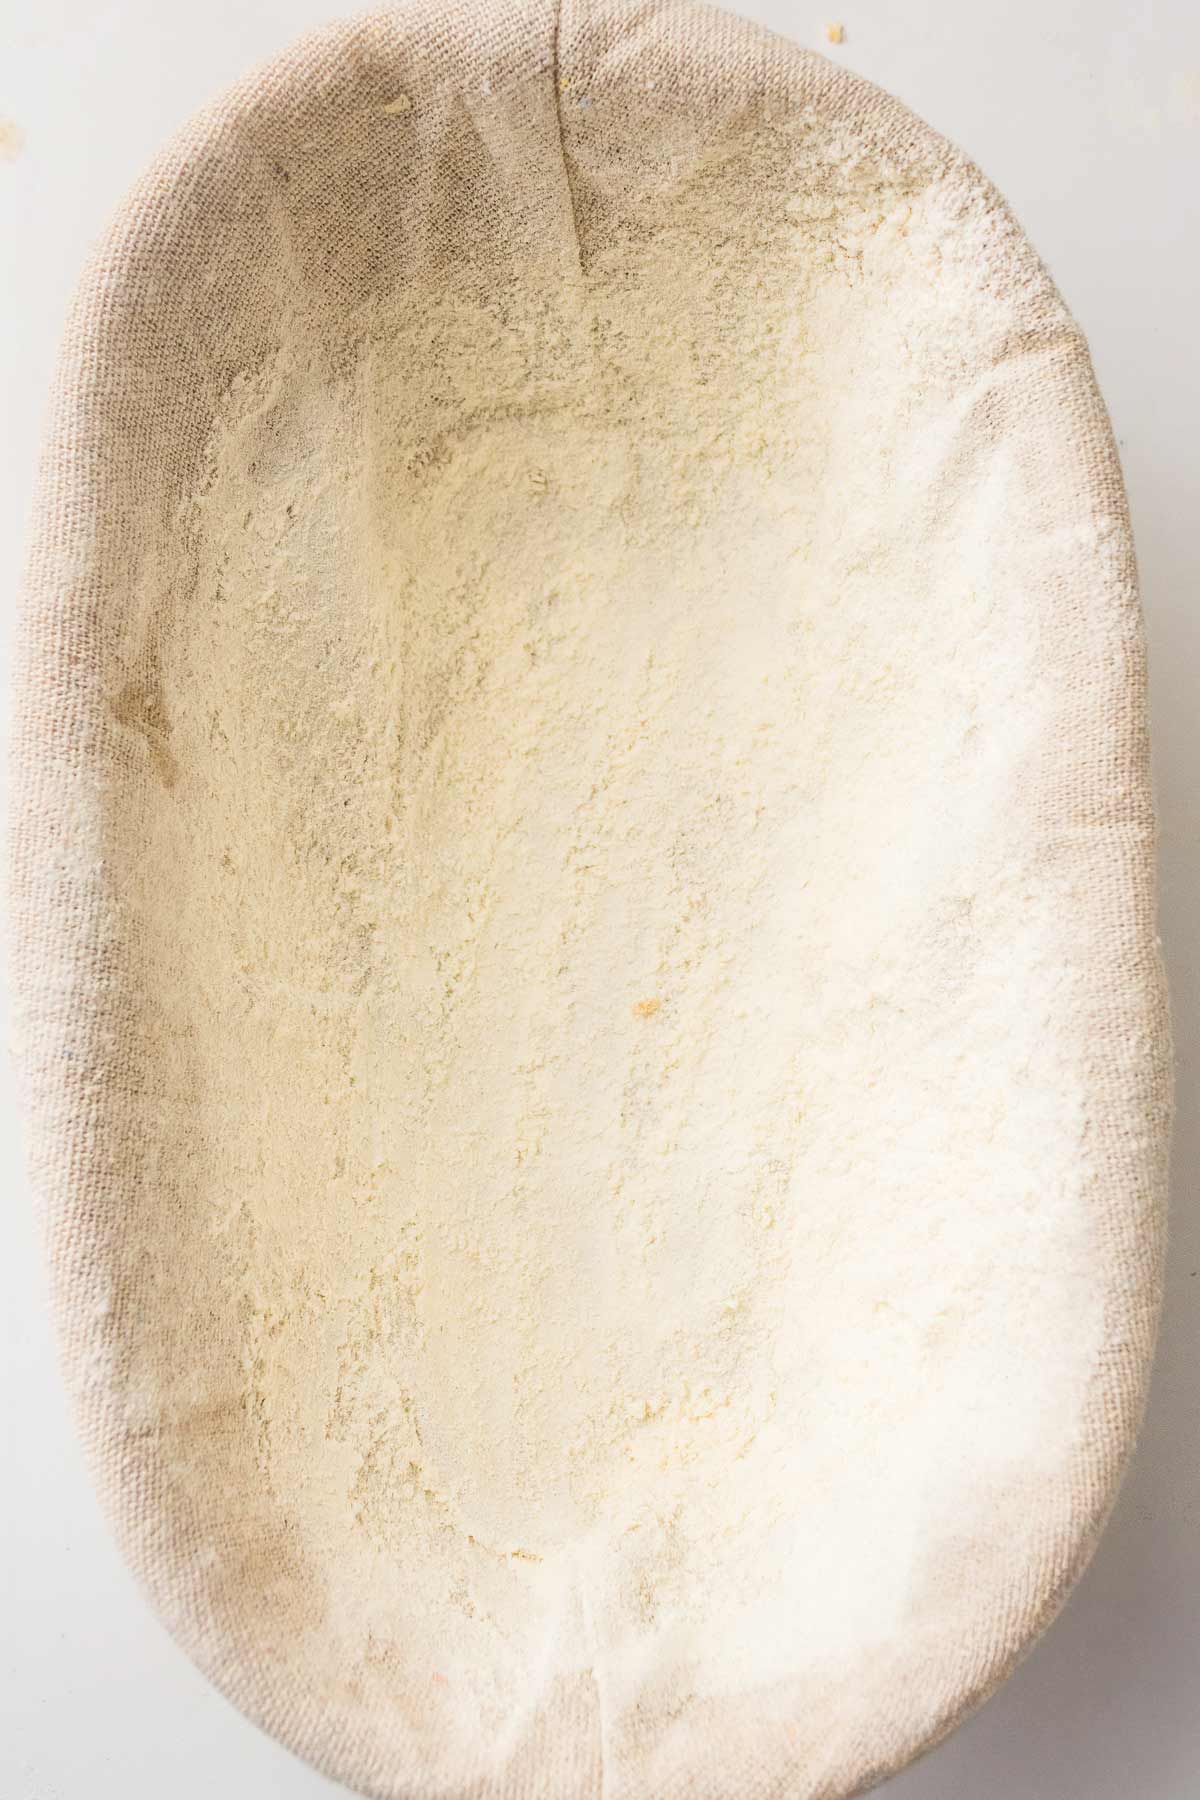
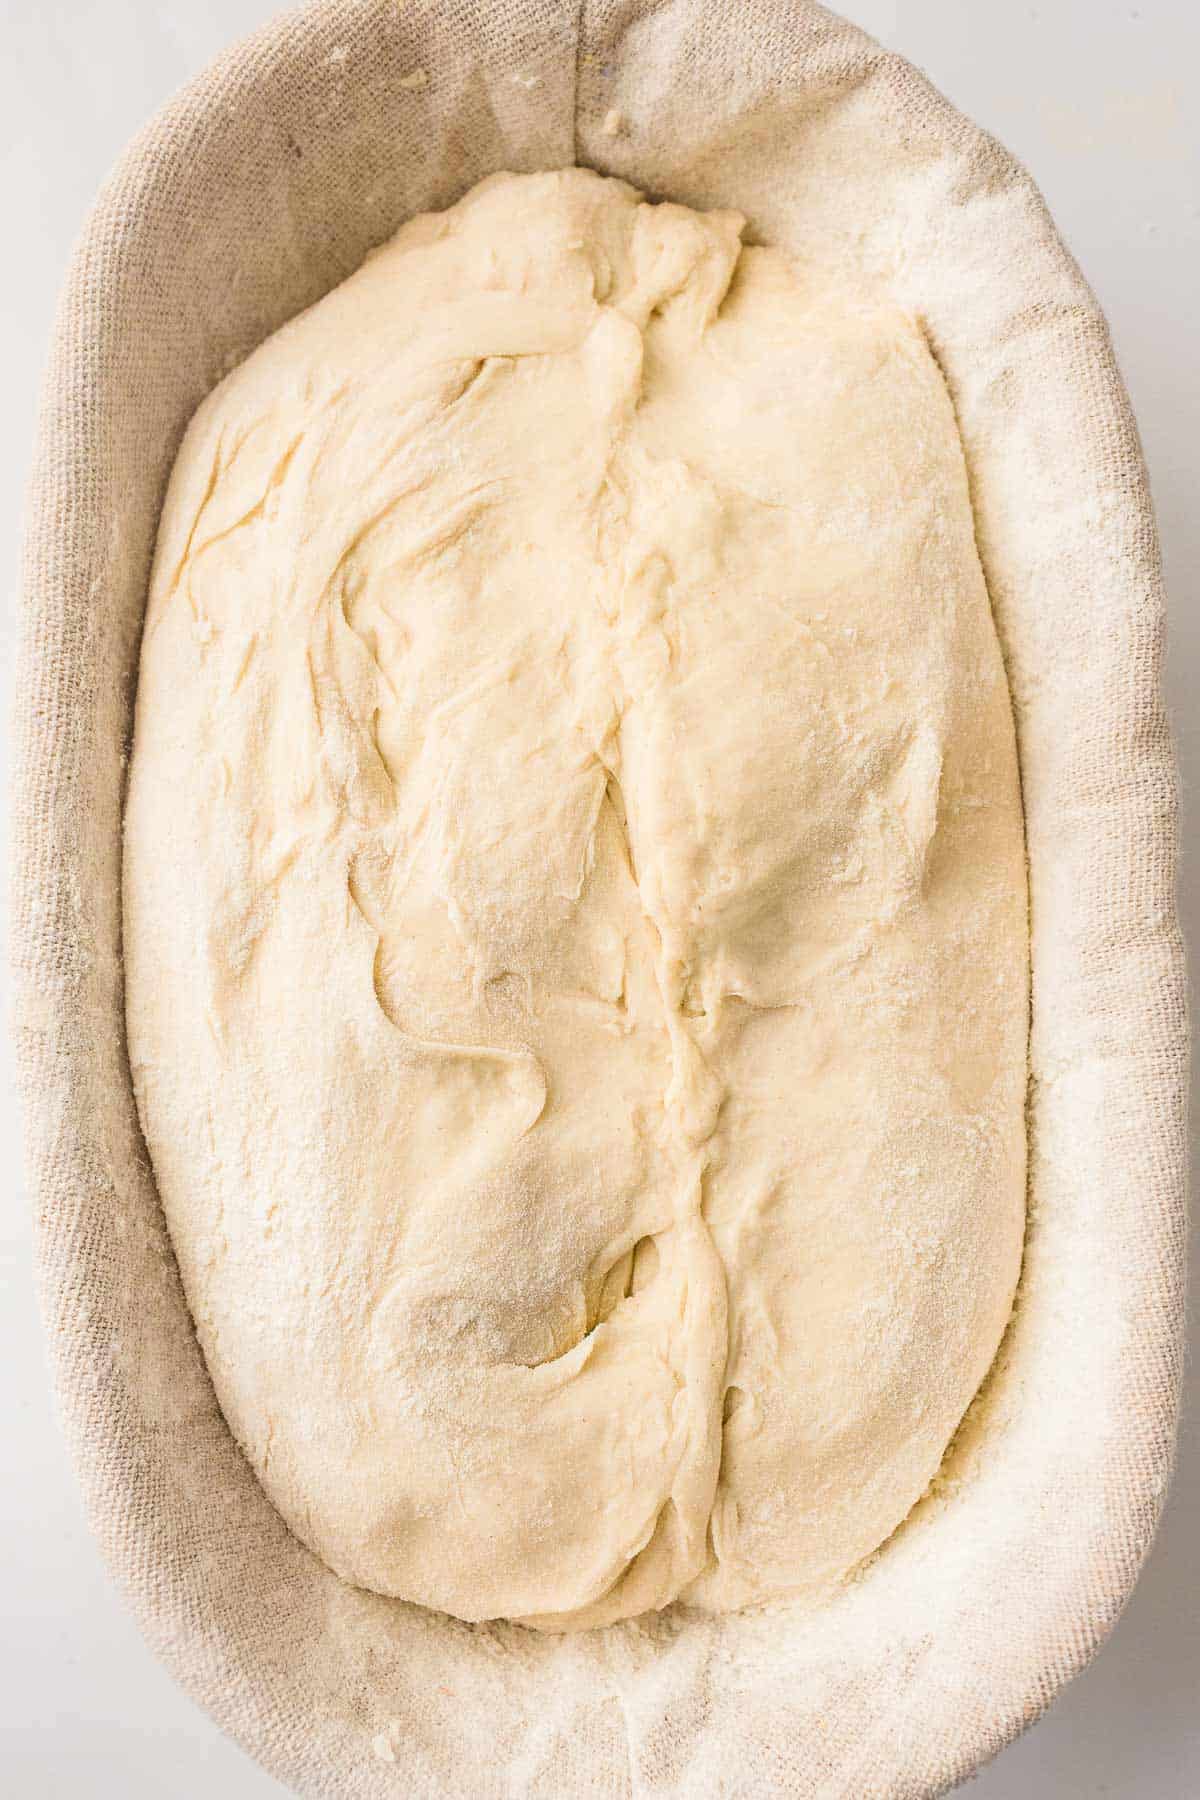
- Proof the Dough: Place the dough seam-side up in a floured proofing basket or towel-lined bowl. Let it proof for 1 to 2 hours, or refrigerate overnight.
- Preheat the Oven: Heat the oven to 240°C (465°F) with a Dutch oven inside.
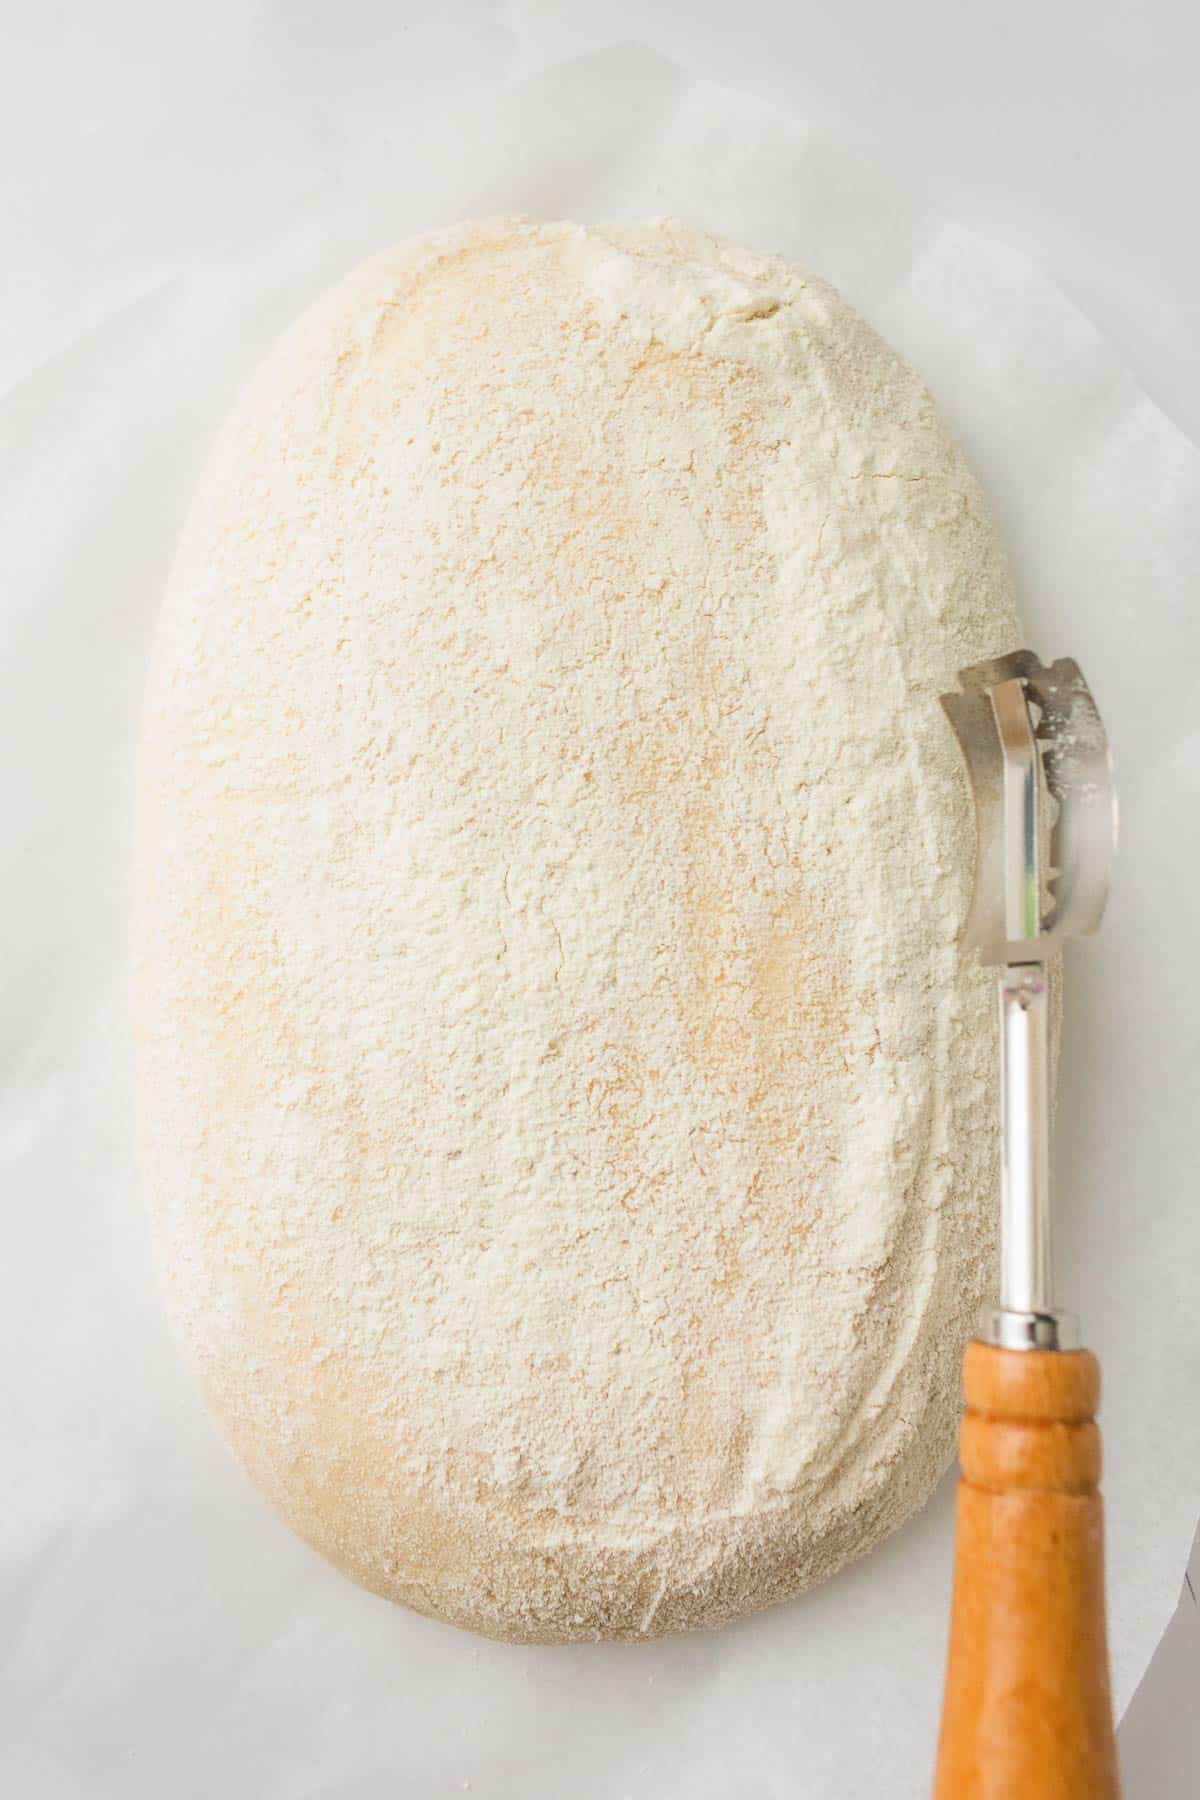
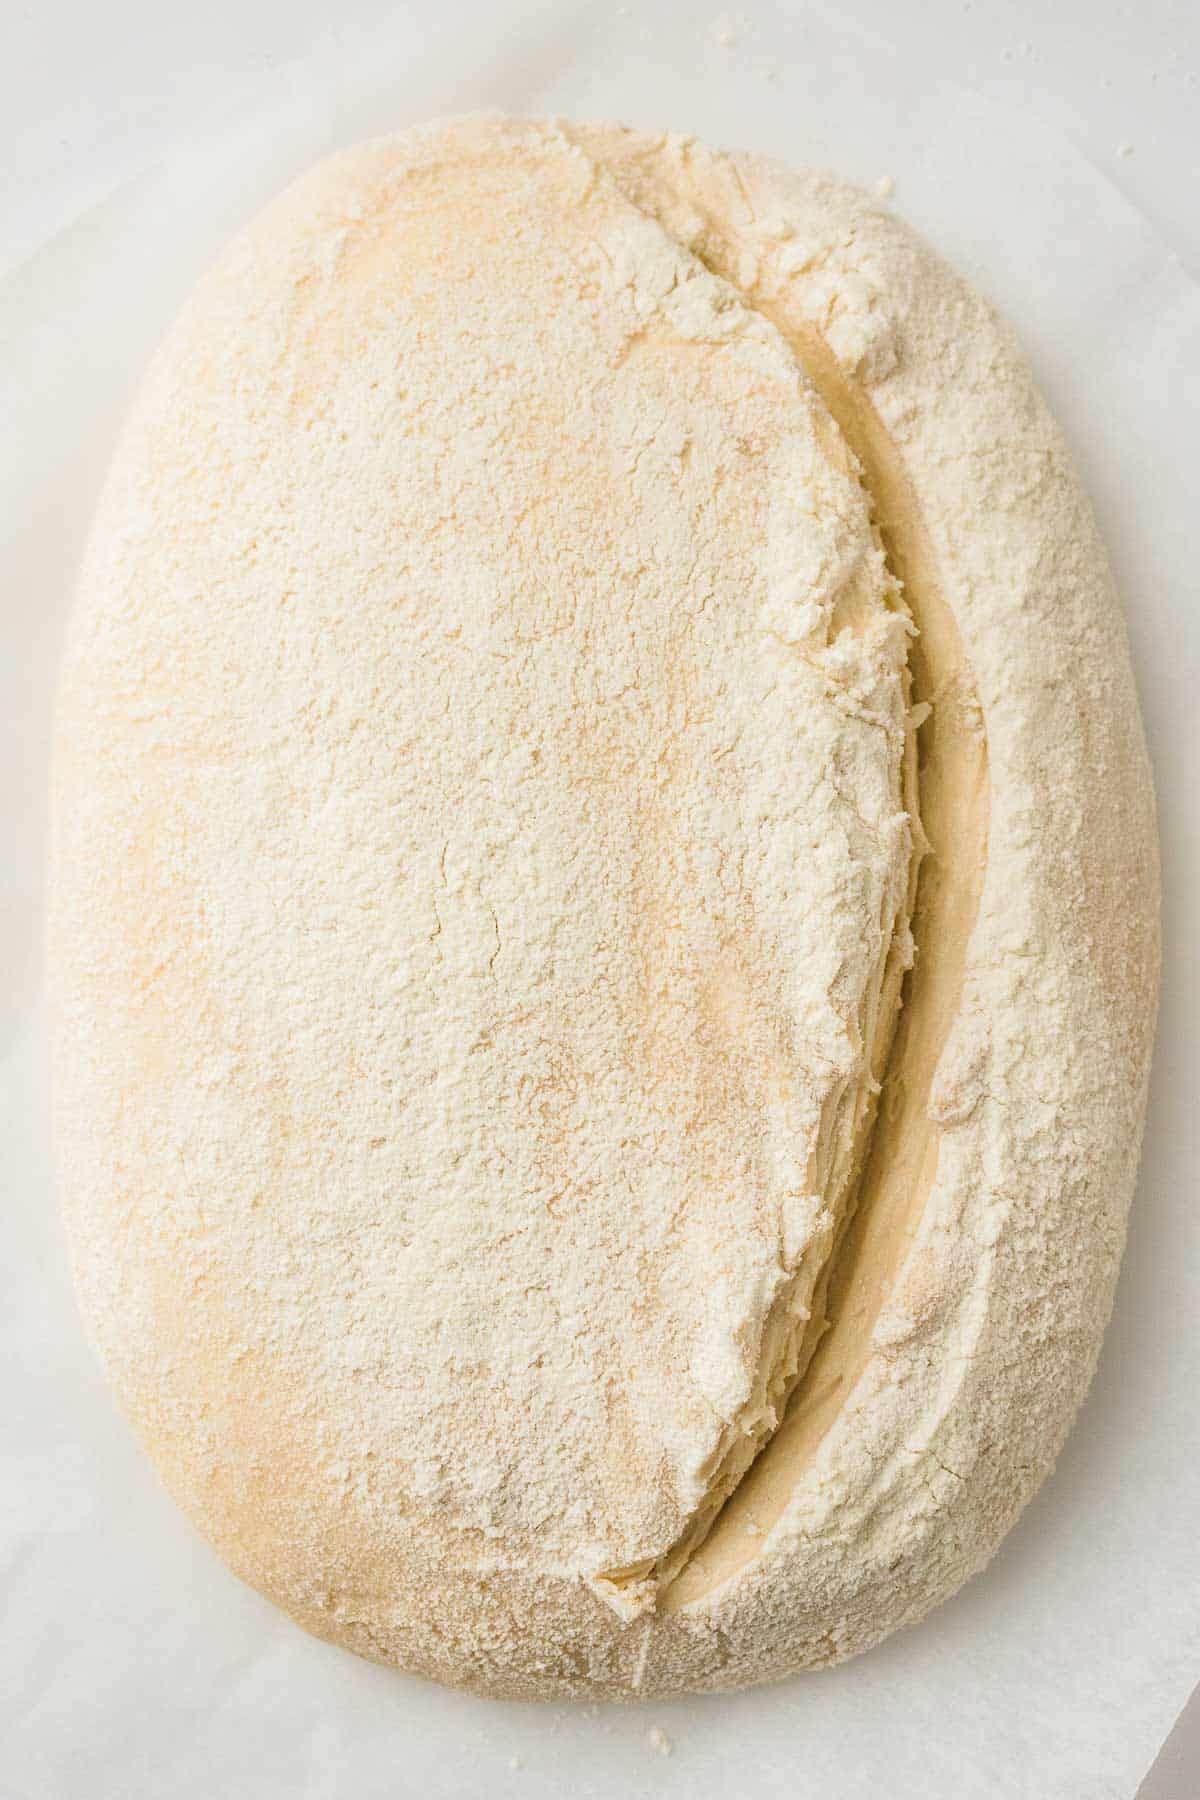
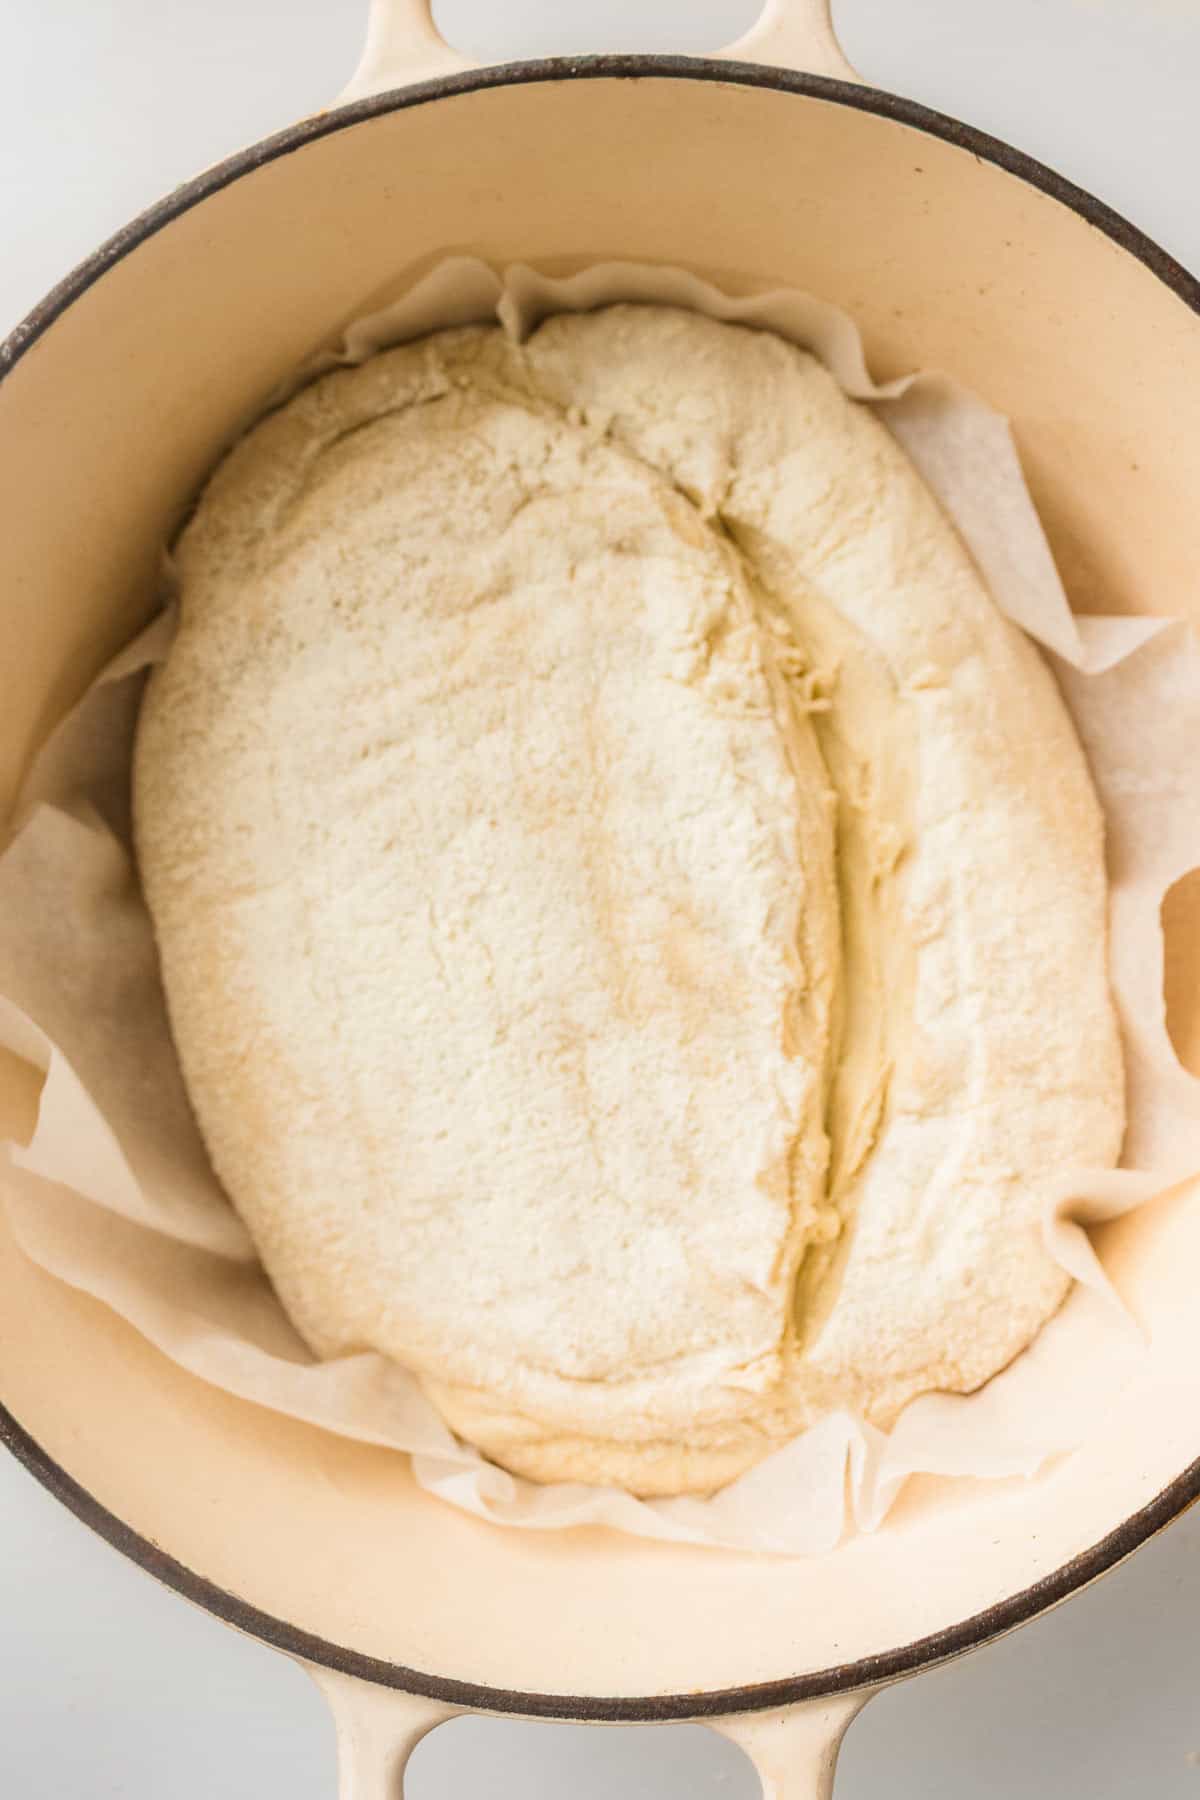
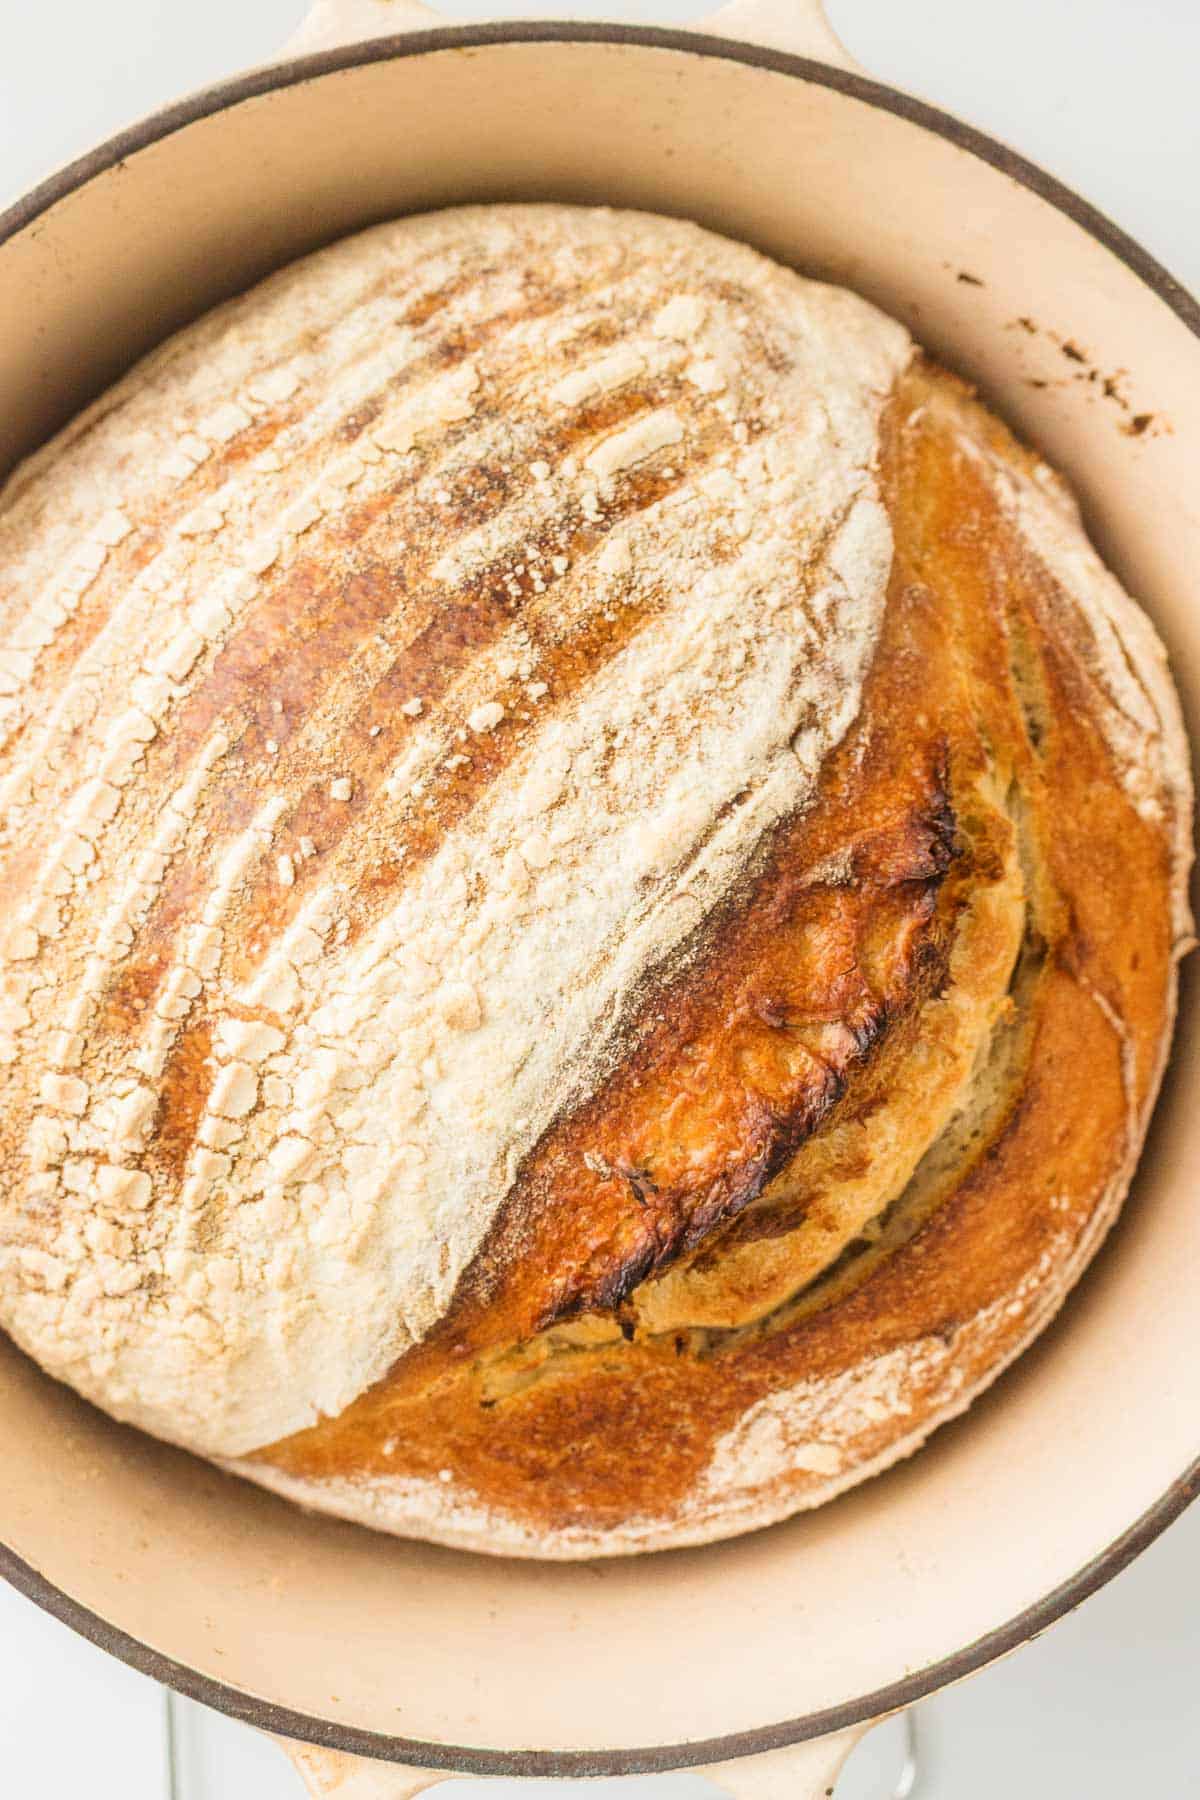
- Score and Bake: Turn the dough onto parchment paper, score the top with a sharp blade, and bake covered for 20 minutes. Remove the lid and bake for another 20 to 22 minutes.
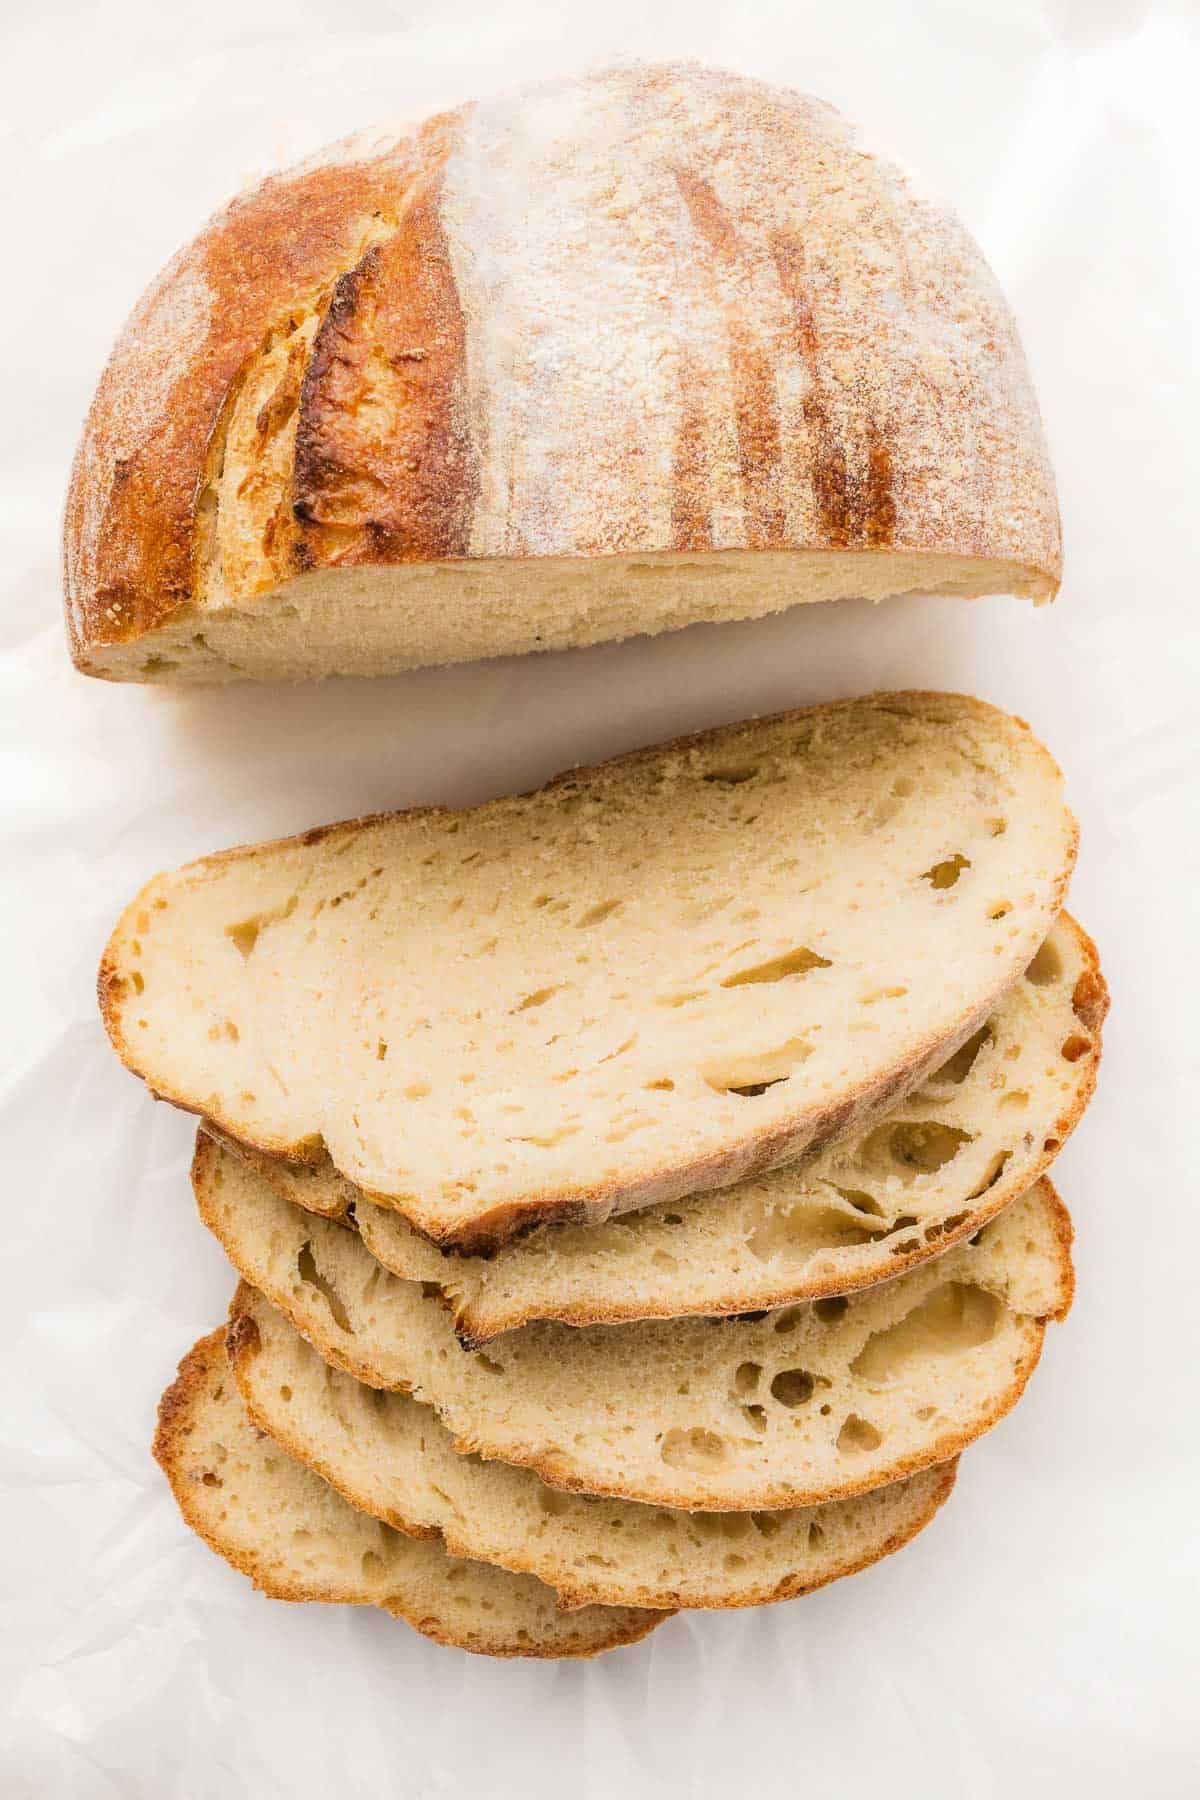
- Cool: Transfer the loaf to a wire rack and let it cool completely before slicing. I never skip this step because it gives the bread the best texture.
👨🍳 Rita's Equipment
 Buy Now →
  Buy Now →
  Buy Now →
  Buy Now →
  Buy Now →
  Buy Now →
  Buy Now →
  Buy Now →
  Buy Now →
 📋 Important Tips Before You Start
- Flavor tip: An overnight cold proof creates a more developed sourdough flavor.
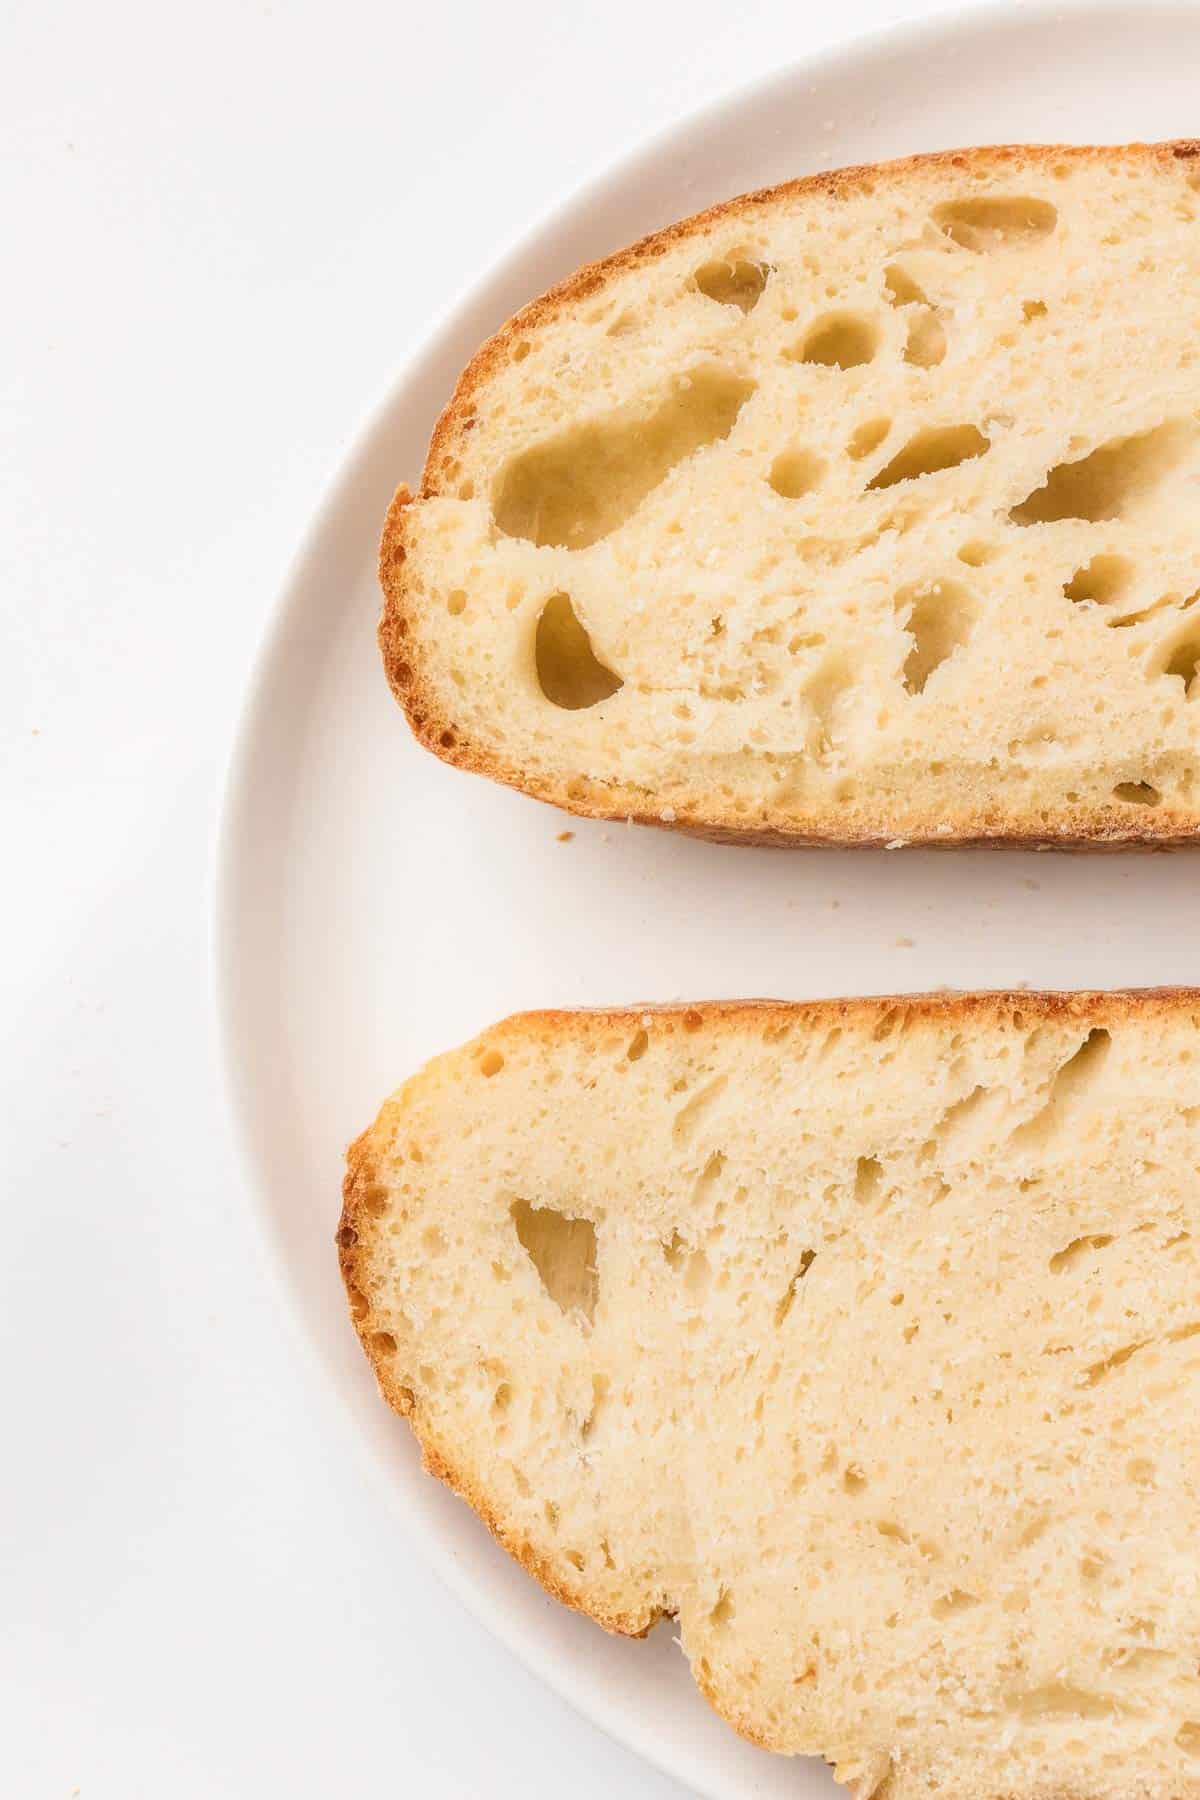
- Texture tip: Let the loaf cool completely before slicing so the crumb finishes setting.
- Shortcut: If you're short on time, use a bowl lined with a floured towel instead of buying a proofing basket.
- Make-ahead tip: Shape the dough the night before and bake it straight from the refrigerator the next morning.
- Common mistake: Don't judge fermentation by the clock alone. Temperature changes everything, so watch how the dough looks instead.
Easy Swaps
- Bread flour. Use all-purpose flour, though the loaf will be slightly less chewy.
- Whole wheat flour. Replace up to 10% of the bread flour for a nuttier flavor.
- Proofing basket. Use a bowl lined with a well-floured kitchen towel instead.
- Rice flour. Great for dusting because it helps prevent sticking.
What To Serve With Sourdough Bread
This homemade sourdough bread pairs well with all kinds of cozy meals.
🍱 Storage Instructions
- 🍱To Store. Keep the loaf wrapped in a clean kitchen towel or paper bag at room temperature for up to 3 days. I usually leave the cut side facing down on a cutting board after the first slice. It keeps the inside softer without trapping too much moisture.
- 🥶To Freeze. Slice the loaf before freezing so you can grab only what you need. Freeze for up to 2 months.
- 🕒 To Make Ahead. Complete the shaping step, then refrigerate the dough overnight before baking the next day.
- 🔥To Reheat. Toast frozen slices straight from the freezer, or warm the whole loaf in a 350°F (175°C) oven for about 8 to 10 minutes.
❓FAQs
Yes. An overnight cold ferment develops more flavor and often gives the loaf a better crust.
The Dutch oven traps steam during the first part of baking, helping the loaf rise higher while creating a crisp crust.
Yes. It works well for beginners, but I still recommend bread flour whenever possible because it produces a stronger, chewier loaf.
More Beginner-Friendly Baking Recipes
- Apple Bread
- Easy Blueberry Cream Cheese Bread (With Glaze)
- Banana Bread With Dried Cranberries
- Bakery Style Lemon Poppy Seed Muffins (Ultra Moist)
📖Recipe
Simple Sourdough Bread (Beginner's Guide)
Ingredients
- 720 g bread flour
- 380 g water
- 140 g active sourdough starter
- 14 g fine sea salt
Instructions
Levain (Active Sourdough Starter):
- Feed the starter: Feed your sourdough starter 4–8 hours before baking, or until it's bubbly and doubled in size.
- Bring to room temperature: If refrigerated, let the starter warm up before using.
Autolyse (Flour & Water Rest):
- Mix the flour and water: Combine the bread flour and water until no dry flour remains. The dough will look shaggy.380 g water, 720 g bread flour
- Rest the dough: Cover and let it rest for 30 minutes.
Add the Starter and Salt:
- Mix everything together: Add the active starter and salt, then mix until fully incorporated.14 g fine sea salt, 140 g active sourdough starter
- Rest again: Cover and let the dough rest for 30 minutes.
Stretch and Fold:
- Perform the folds: Complete one set of stretch and folds every 30 minutes for 2 hours (4 sets total).
- Watch the dough: It should become smoother and stronger after each set.
Bulk Fermentation (First Rise):
- Let the dough rise: Cover and let the dough ferment for 6–8 hours, or until it has risen about 50–75%.
- Check for readiness: The dough should look airy, bubbly, and slightly domed.
Shape the Loaf:
- Shape the dough: Turn the dough onto a lightly floured surface and shape it into a tight round.
- Prepare for proofing: Place it seam-side up in a floured banneton or a towel-lined bowl.
Final Proof (Second Rise):
- Proof the dough: Let it proof for 1–2 hours at room temperature, or refrigerate overnight for more flavor.
Bake:
- Preheat the oven: Heat the oven to 465°F (240°C) with a Dutch oven inside for 45–60 minutes.
- Score the dough: Turn the dough onto parchment paper and score the top with a bread lame or sharp knife.
- Bake covered: Transfer the dough to the Dutch oven and bake covered for 20 minutes.
- Finish baking: Remove the lid and bake for another 20–22 minutes, until the crust is deep golden brown.
- Cool completely: Transfer to a wire rack and cool for at least 1 hour before slicing.
Nutrition
Before You Go
If this recipe made its way to your dinner table, I'd love to hear what you thought! Leaving a ★★★★★ rating and review below helps other readers and supports the work I do here at Cookrita. Thank you so much for being here. ❤️
Fun Variations to Try
- Herb Sourdough. Fold in a tablespoon of dried rosemary or Italian herbs during the stretch and folds.
- Whole Wheat Swap. Replace up to a third of the bread flour with whole wheat flour for a nuttier, heartier loaf.
- Seeded Crust. Press sesame seeds or everything bagel seasoning onto the top of the loaf before baking.
More Homemade Bread Recipes




Comments
No Comments